Overview
The data import tool allows users to upload historical field observations from Excel files into the Breeding Management System. The Data Import Wizard is the most flexible way to import historical data from trials and nurseries. Importing from Fieldbook formatted Excel files is the simplest way to import, but only useful if you have perfectly formatted BMS v4 generated Fieldbook files. Historic terms need to be mapped to the BMS ontology. Assuming that variables are consistently defined and spelled in historical datasets, the BMS "remembers" past mapping to ease historical data upload.
Data Import Wizard
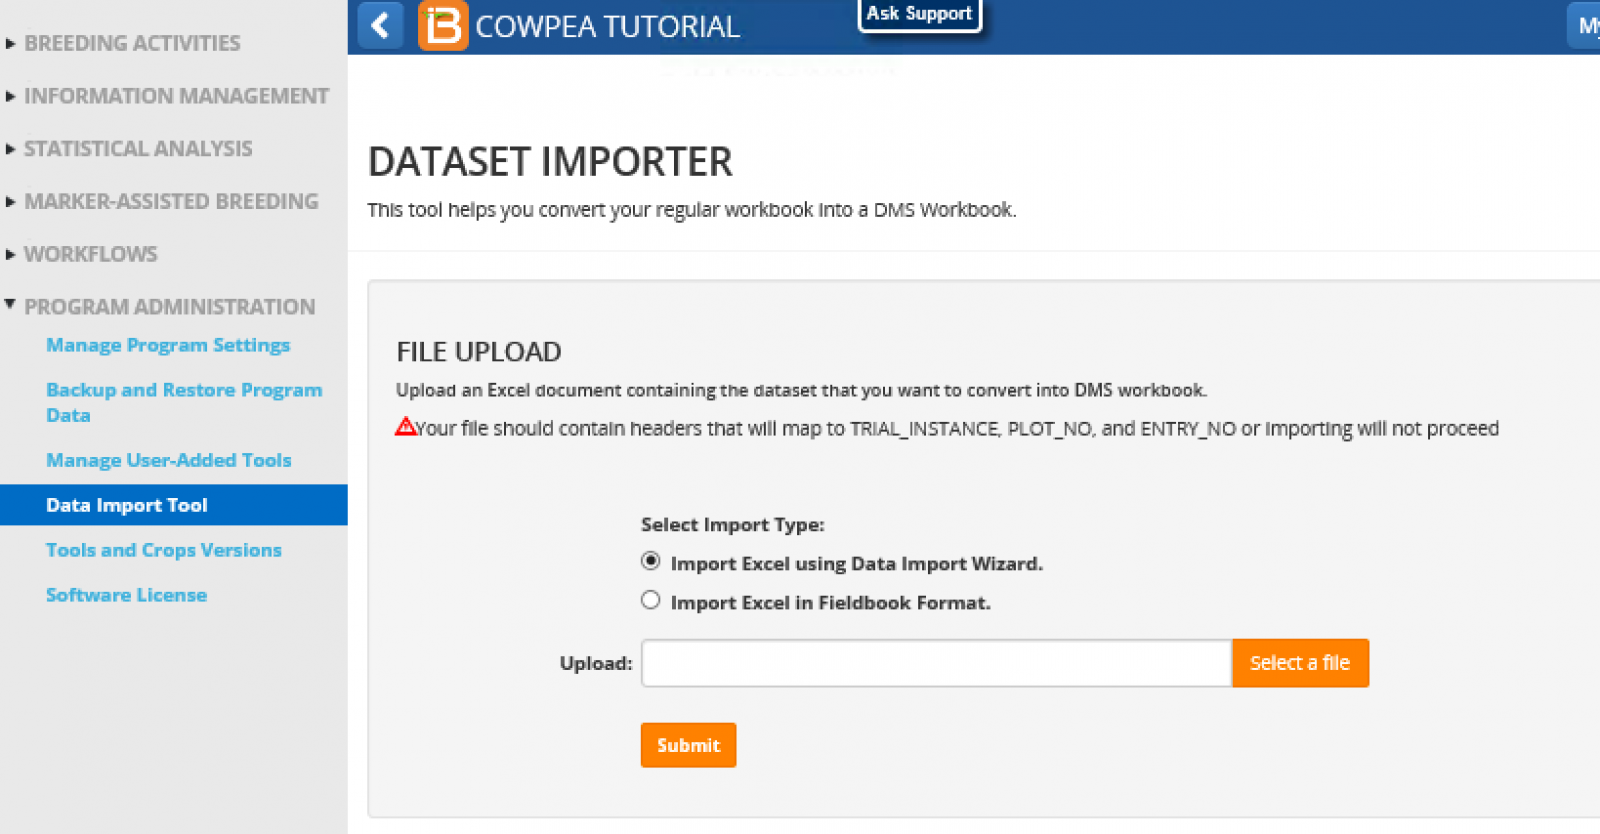
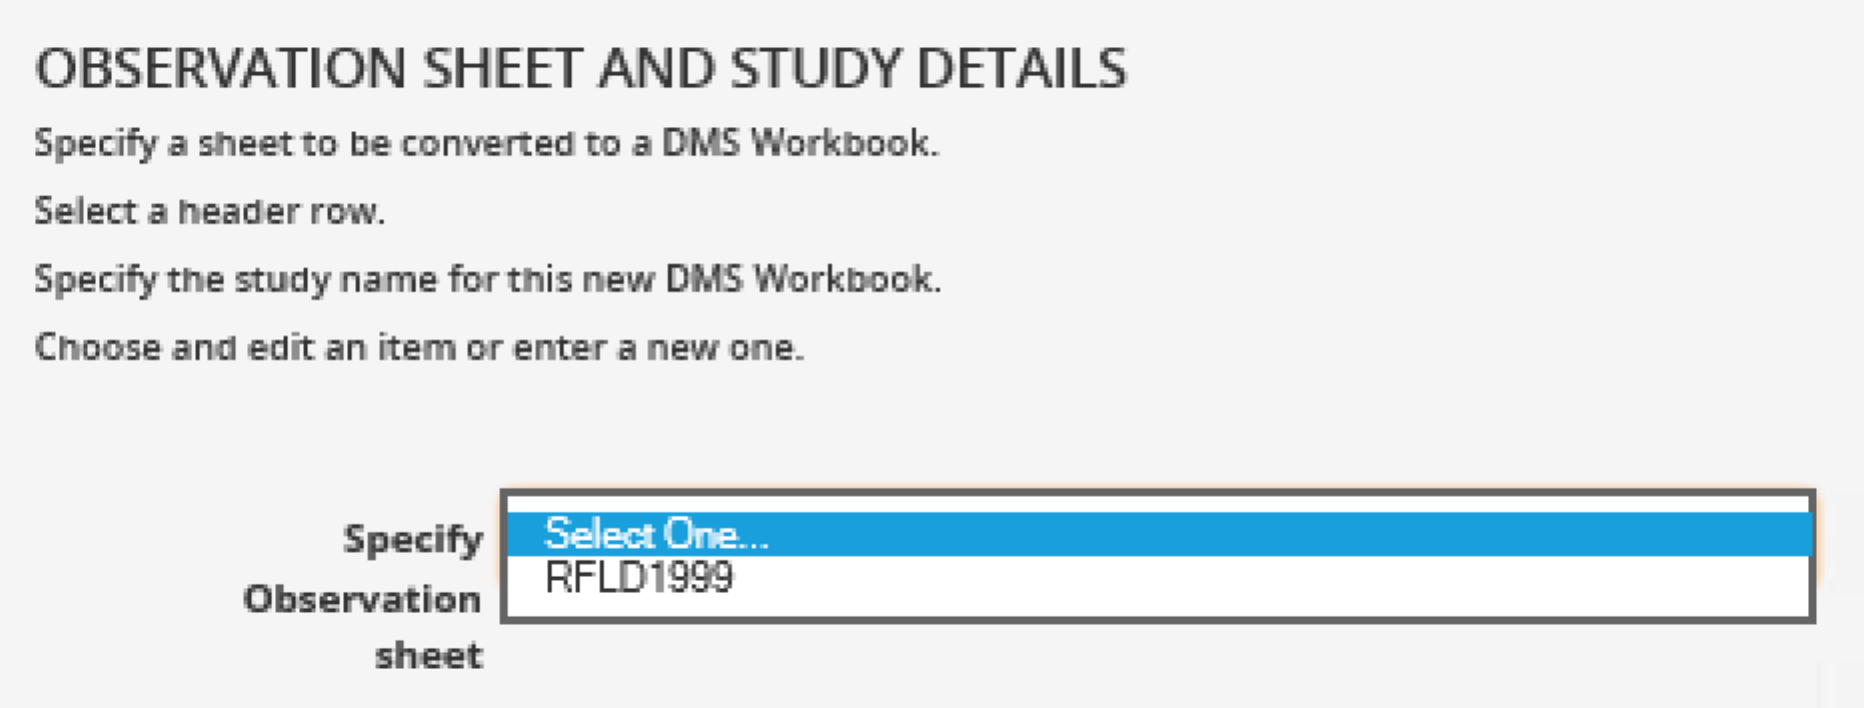
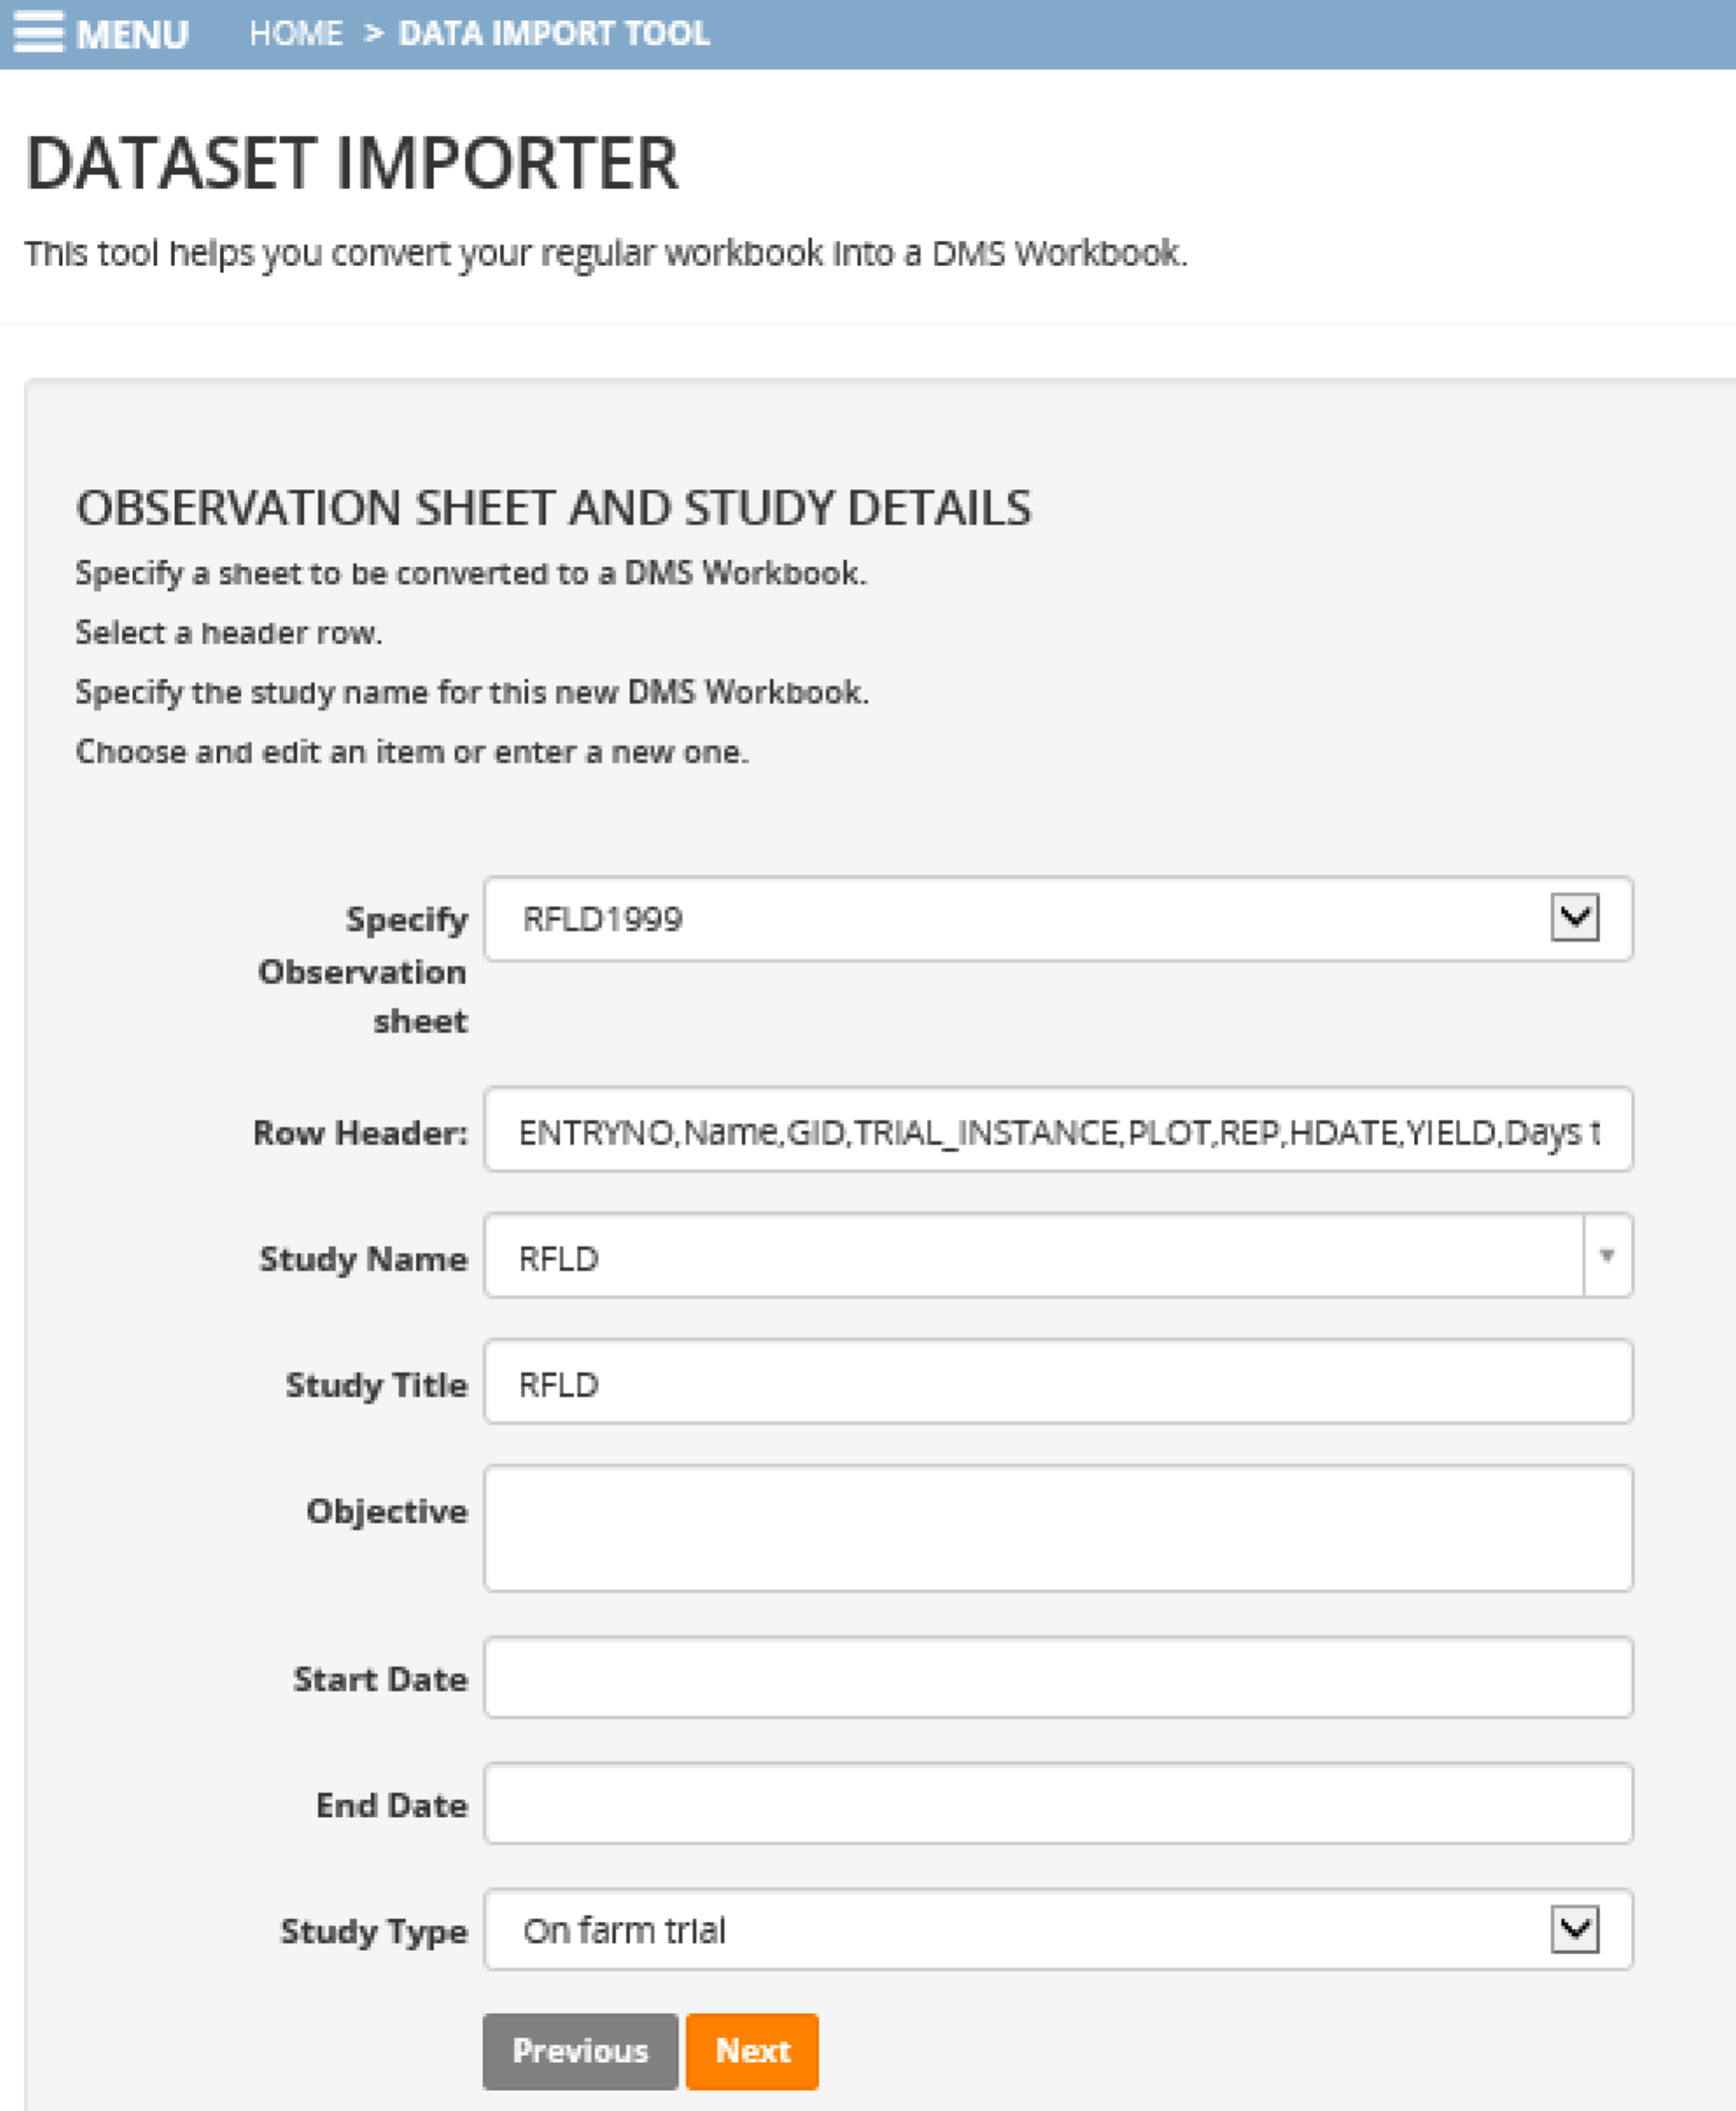
Select the Data Import Wizard, and choose an excel file to import. The rice example (.xls) illustrated here can be replicated within a rice program. See below for file format details. Specify the observation sheet containing the phenotypic data within the Excel file. If the file only has one sheet of data there will be only one observation sheet option.
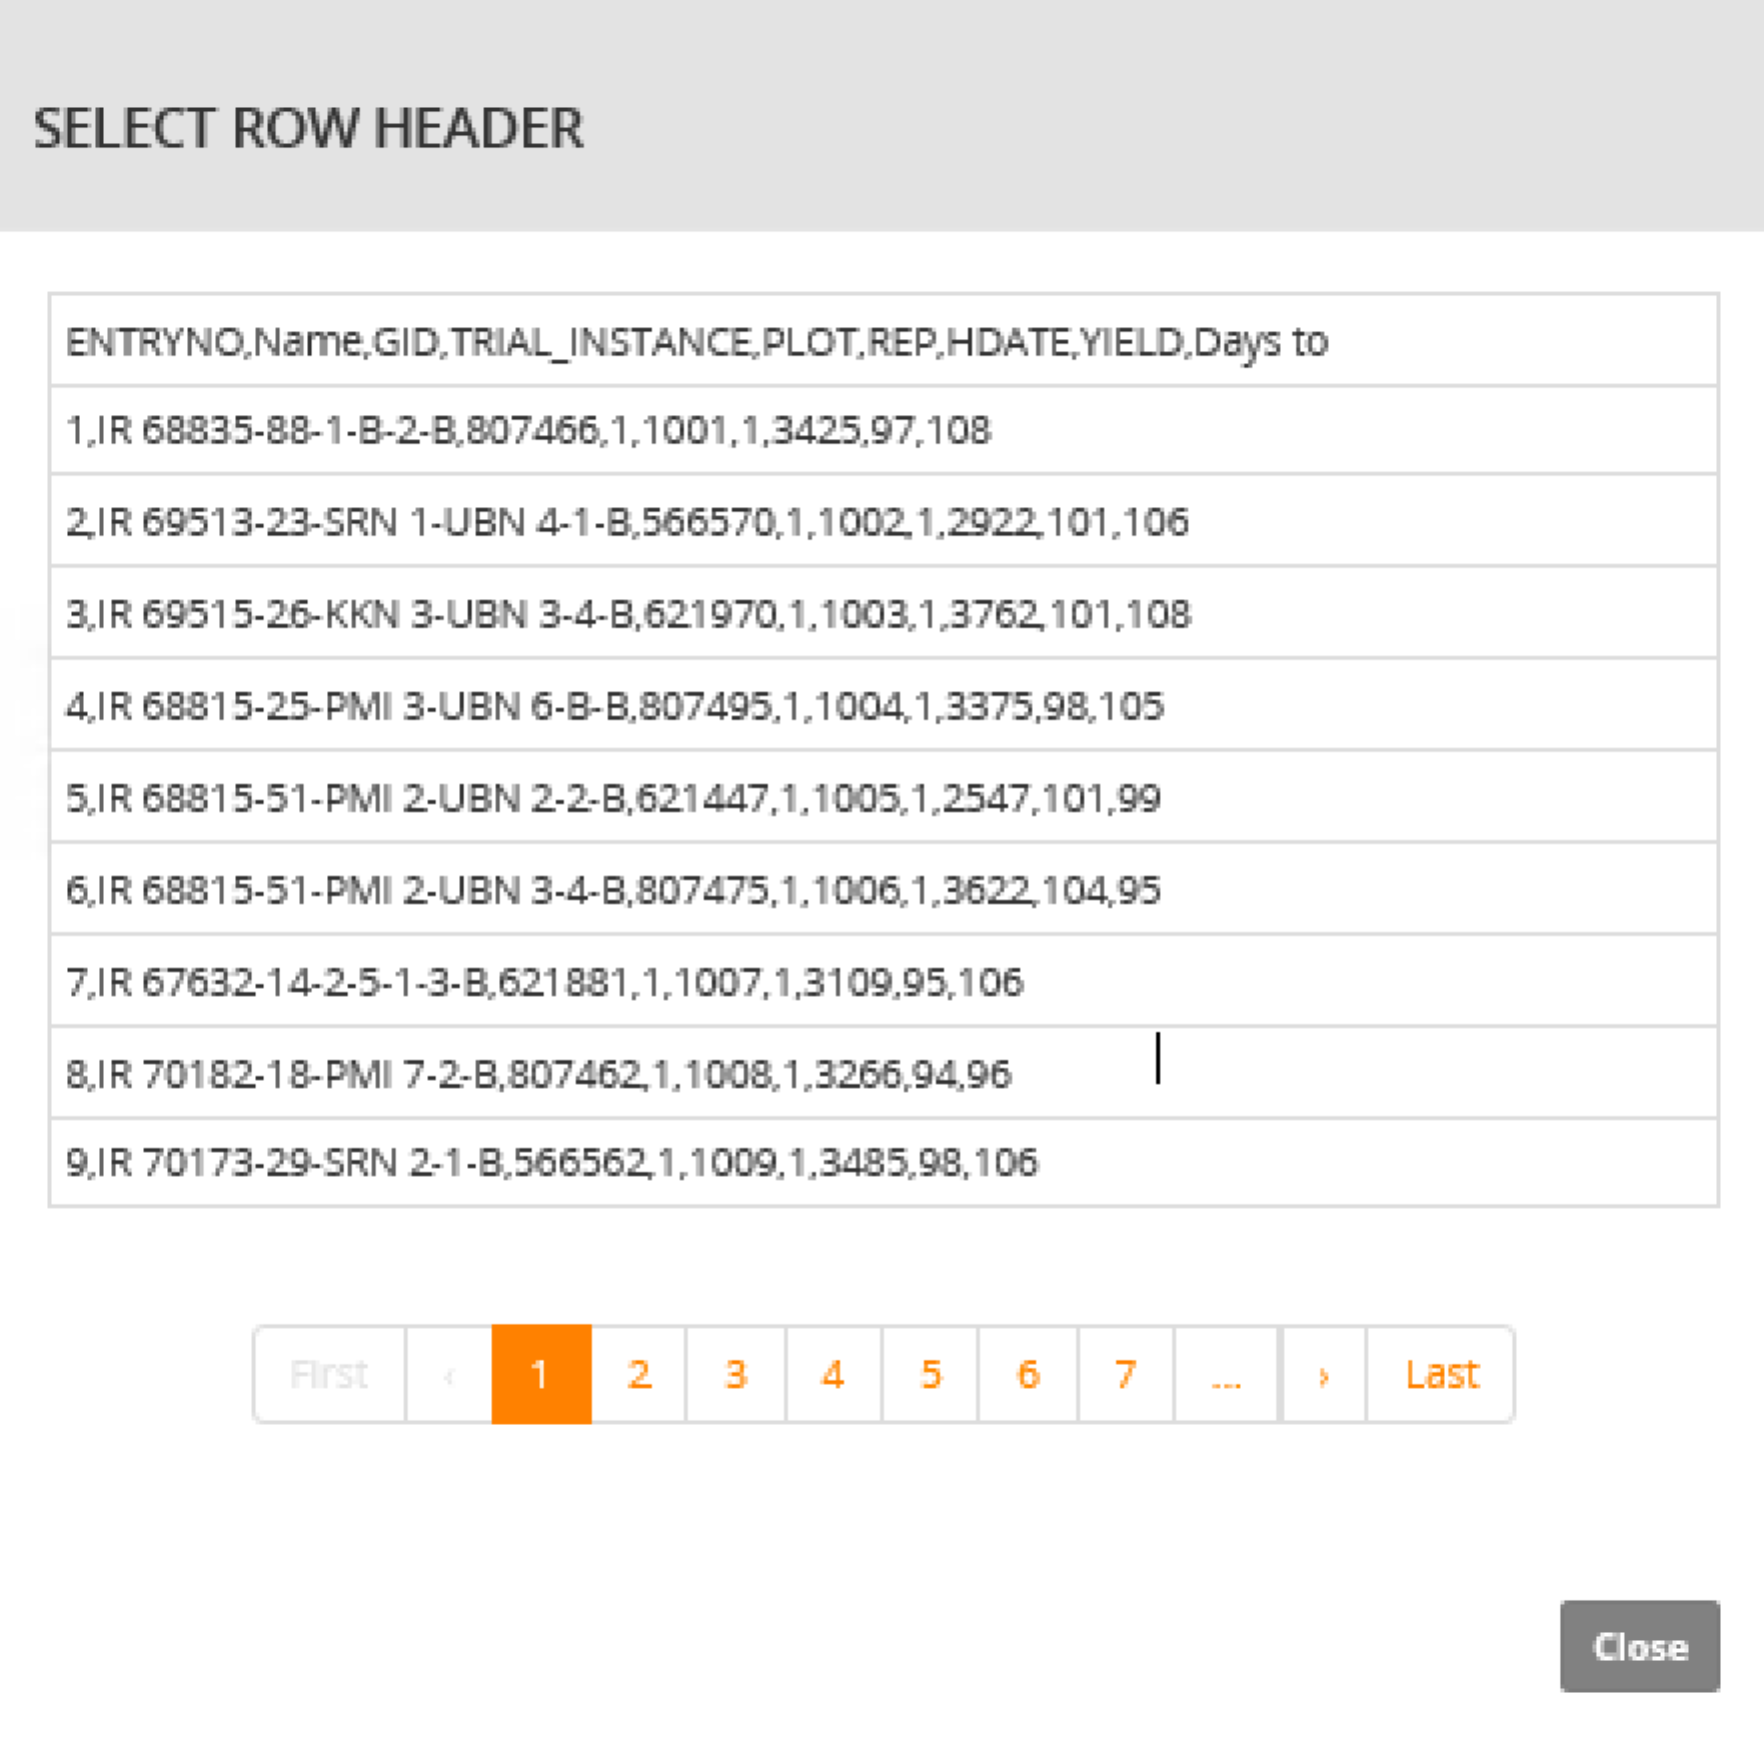
Select the appropriate row of column headings and Close.
Enter a Study Name, Title, and Type. Select Next. Expect to wait a few seconds for initial mapping to complete.
 ?
?
Map Excel Column Headers to Database Ontology
The BMS will attempt to map the Excel sheet column headers to their corresponding database terms. Carefully review mapped selections, highlighted in blue, to ensure that ontology term chosen by the system truly matches the meaning and measurement of the imported data.
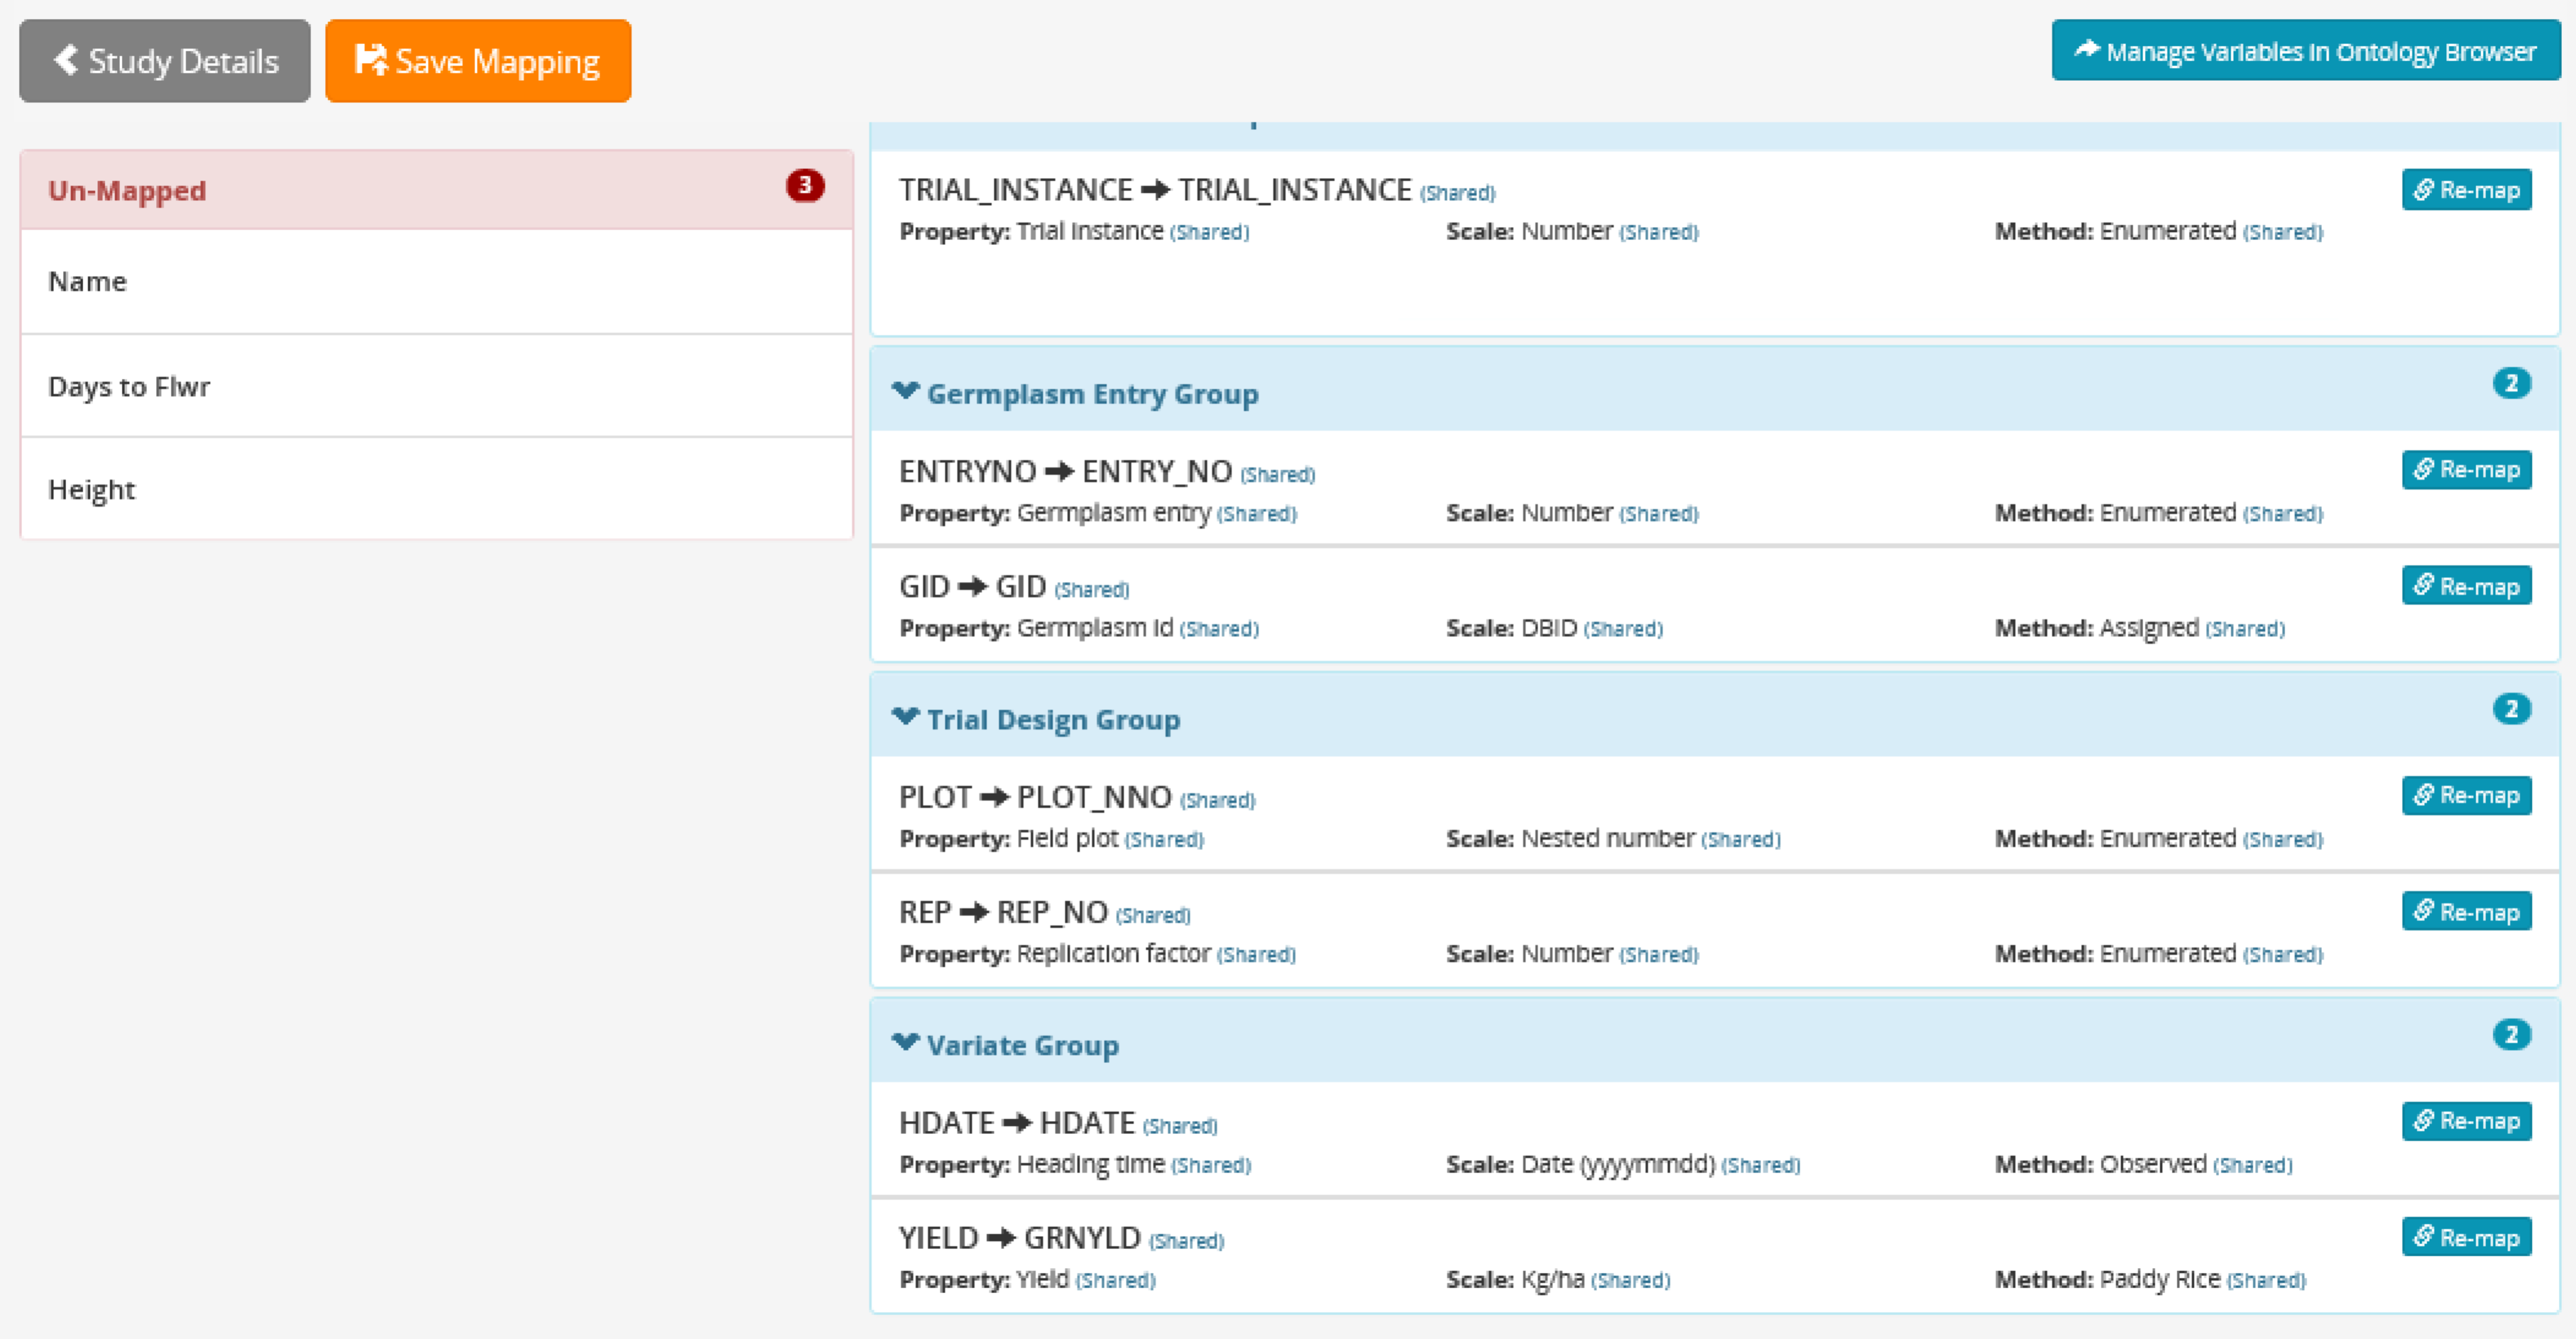
In this example, the BMS has mapped 7 of the 10 columns of data. These 7 will need to be carefully reviewed, and the 3 unmapped columns of data will need to be manually matched to the database ontology.
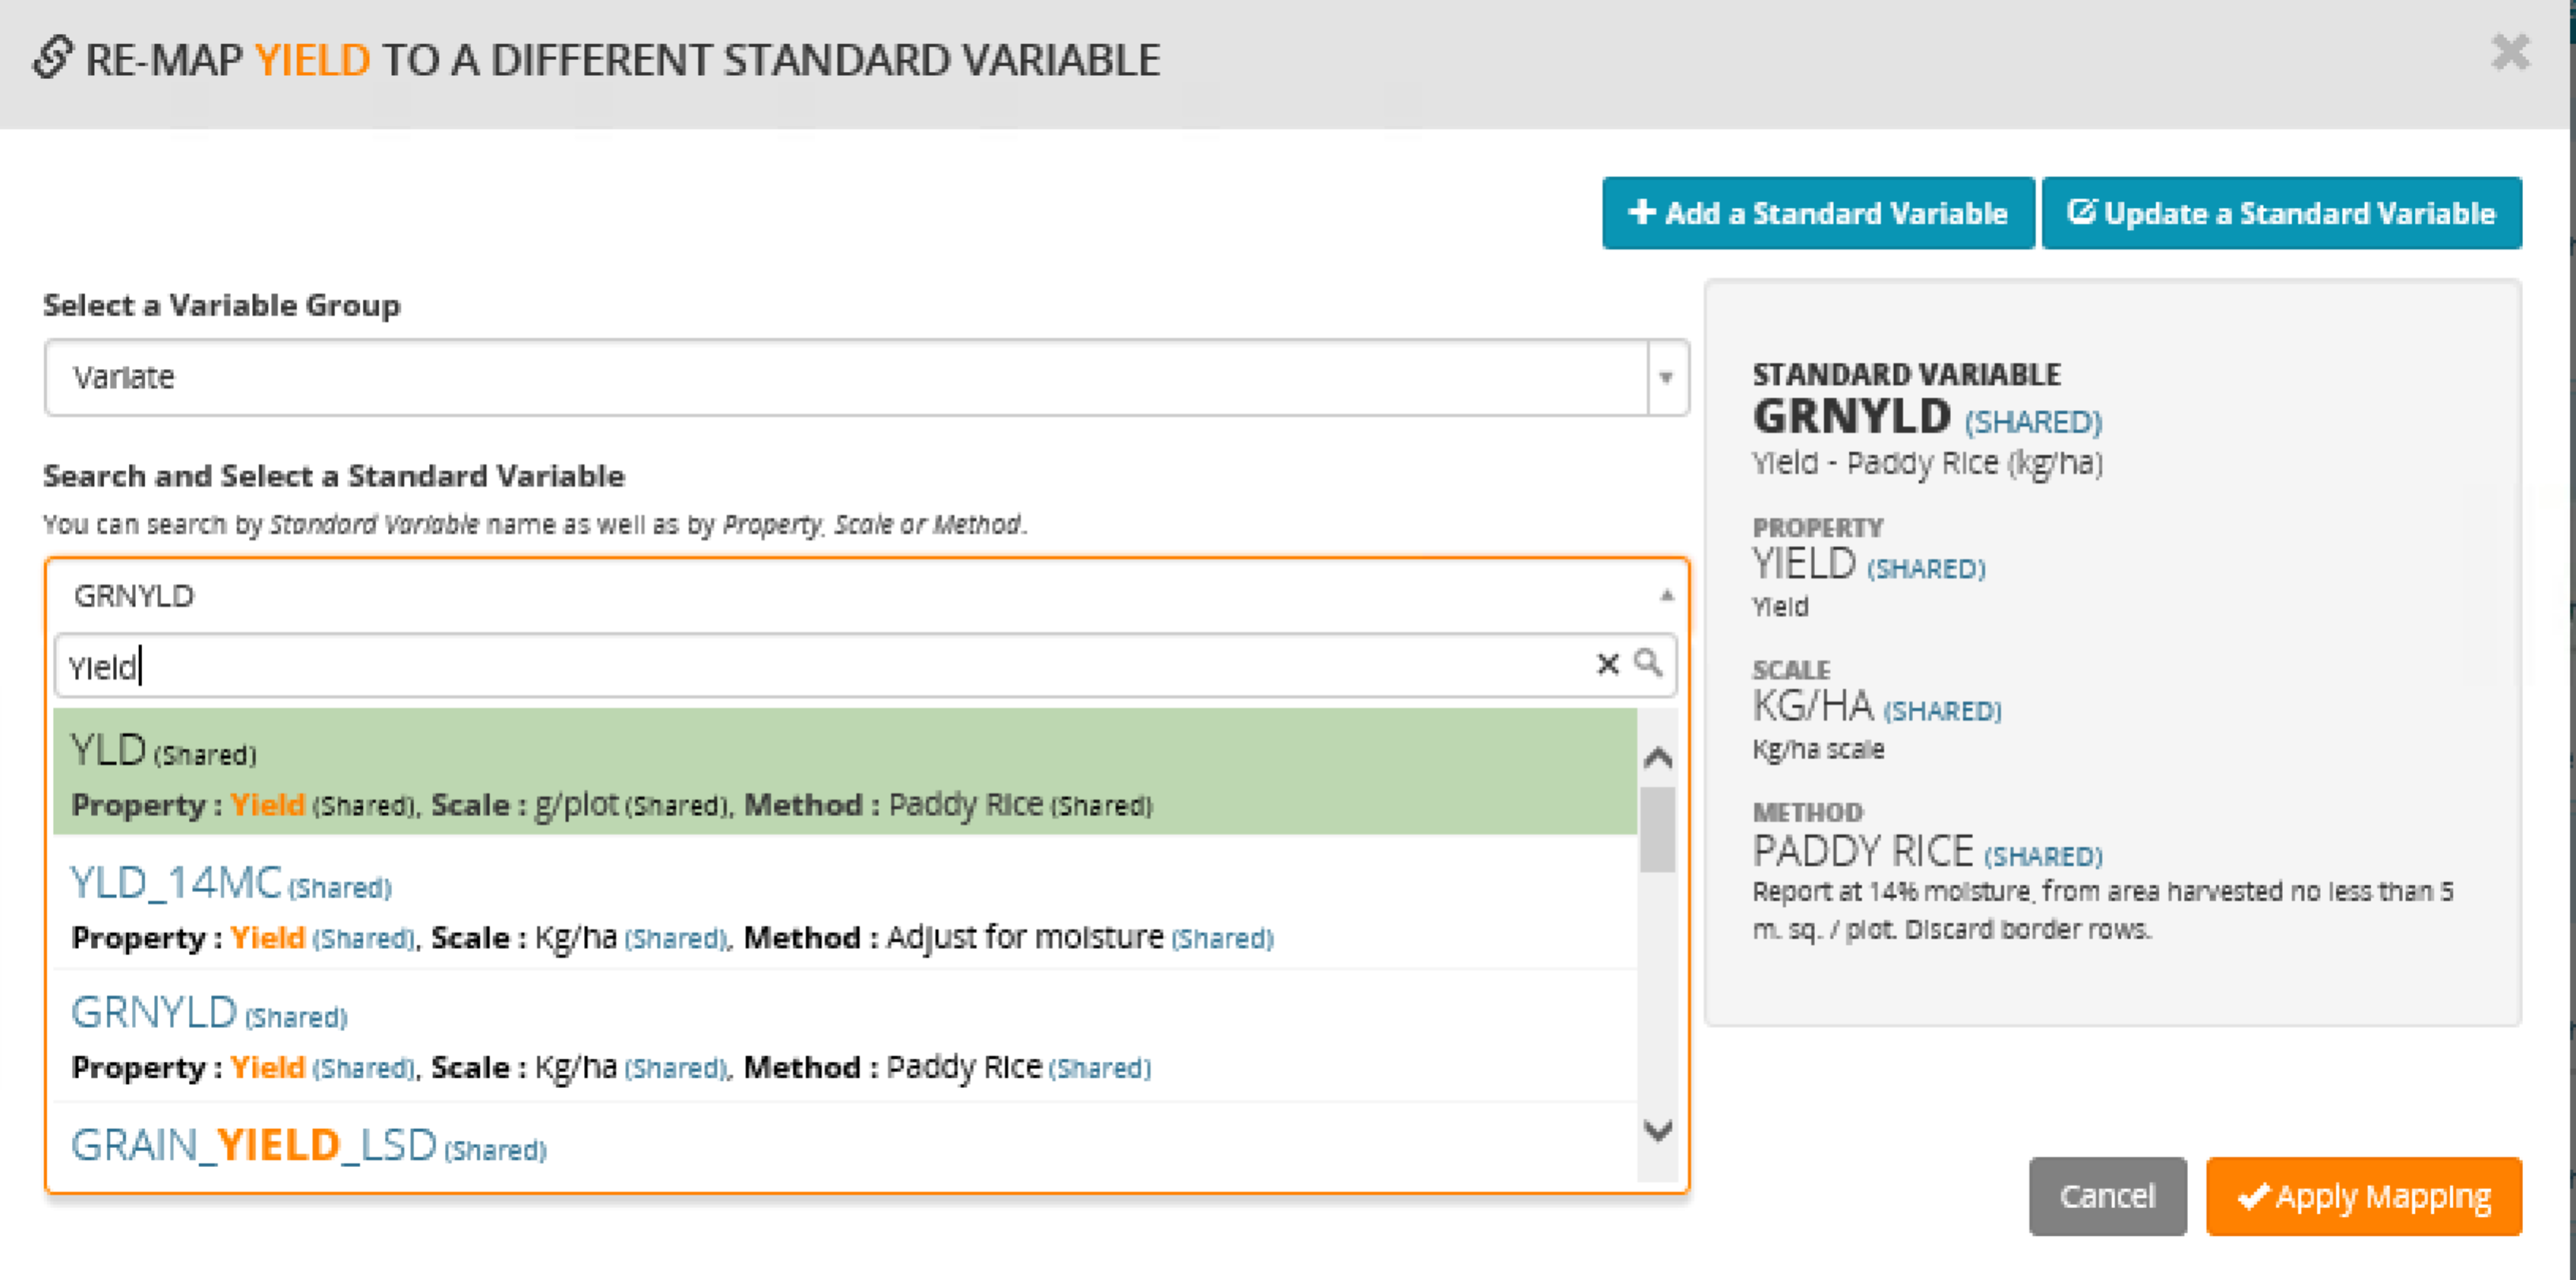
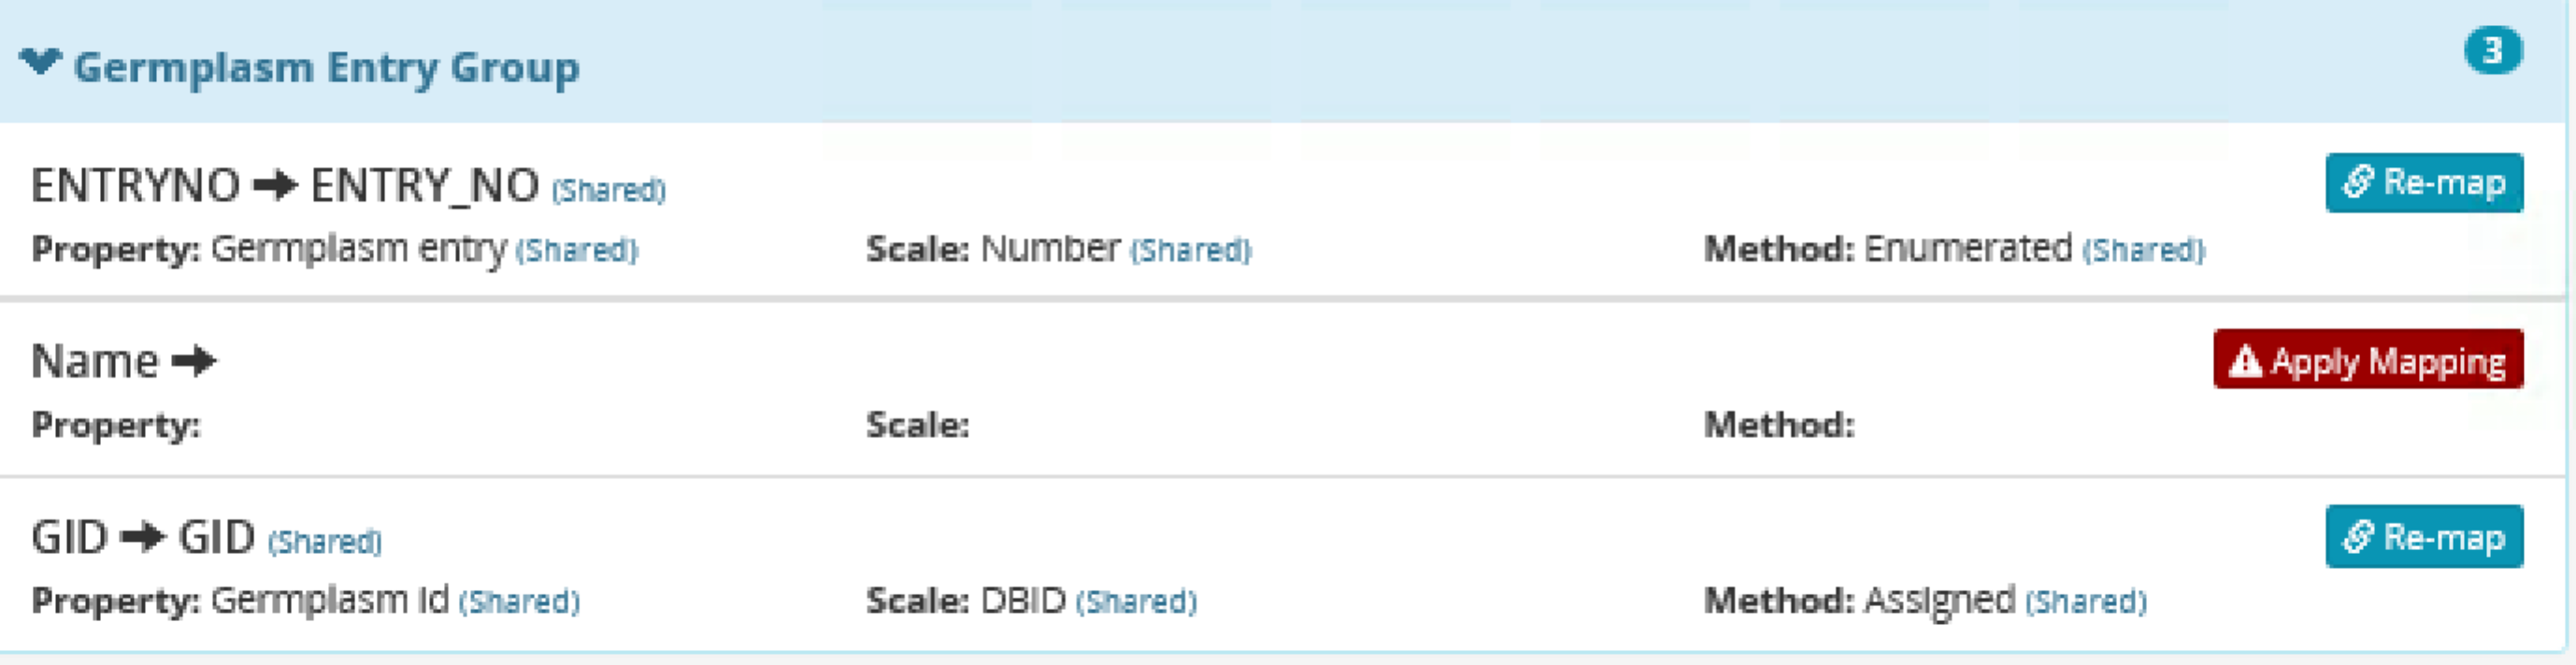
Review the details of the suggested matches by selecting the Re-Map icon. Search for alternative matches if the scale or method for the selected match is different than the actual experimental design. Obtain the details of an alternative variable name by highlighting and selecting.

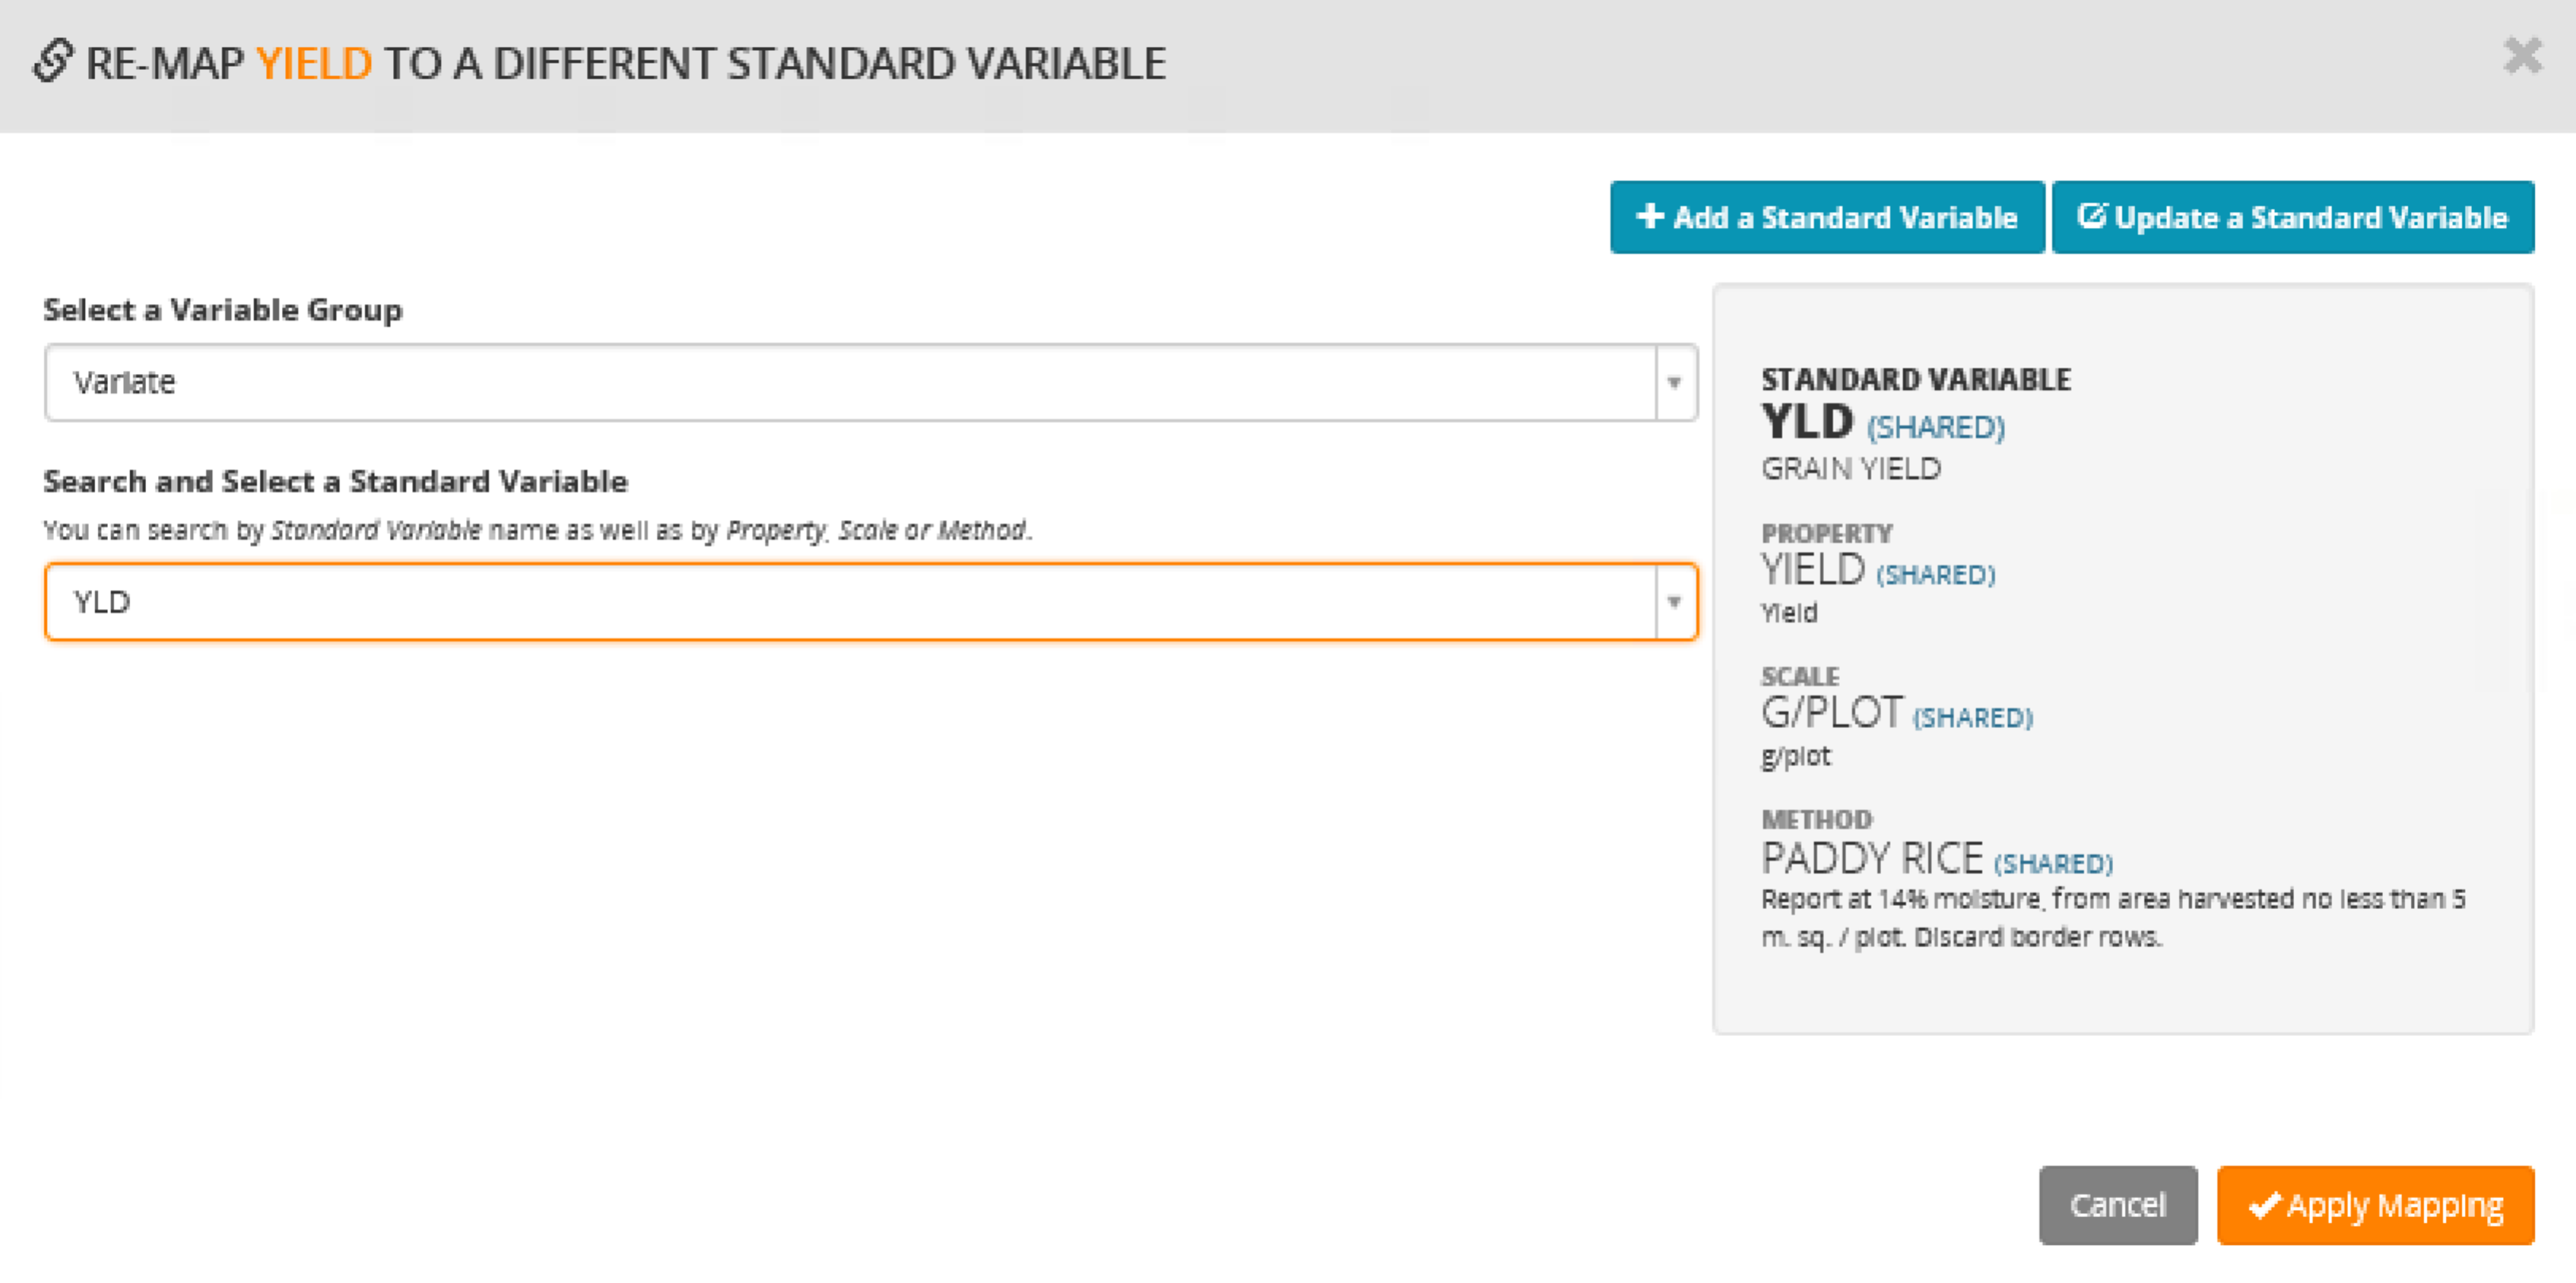
If the alternative term is an actual match, select Apply Mapping. If a match is not found, select Add a Standard Variable, which takes you to the Ontology Manager.
If the alternative term is an actual match, select Apply Mapping. The change will be reflected on the main screen.
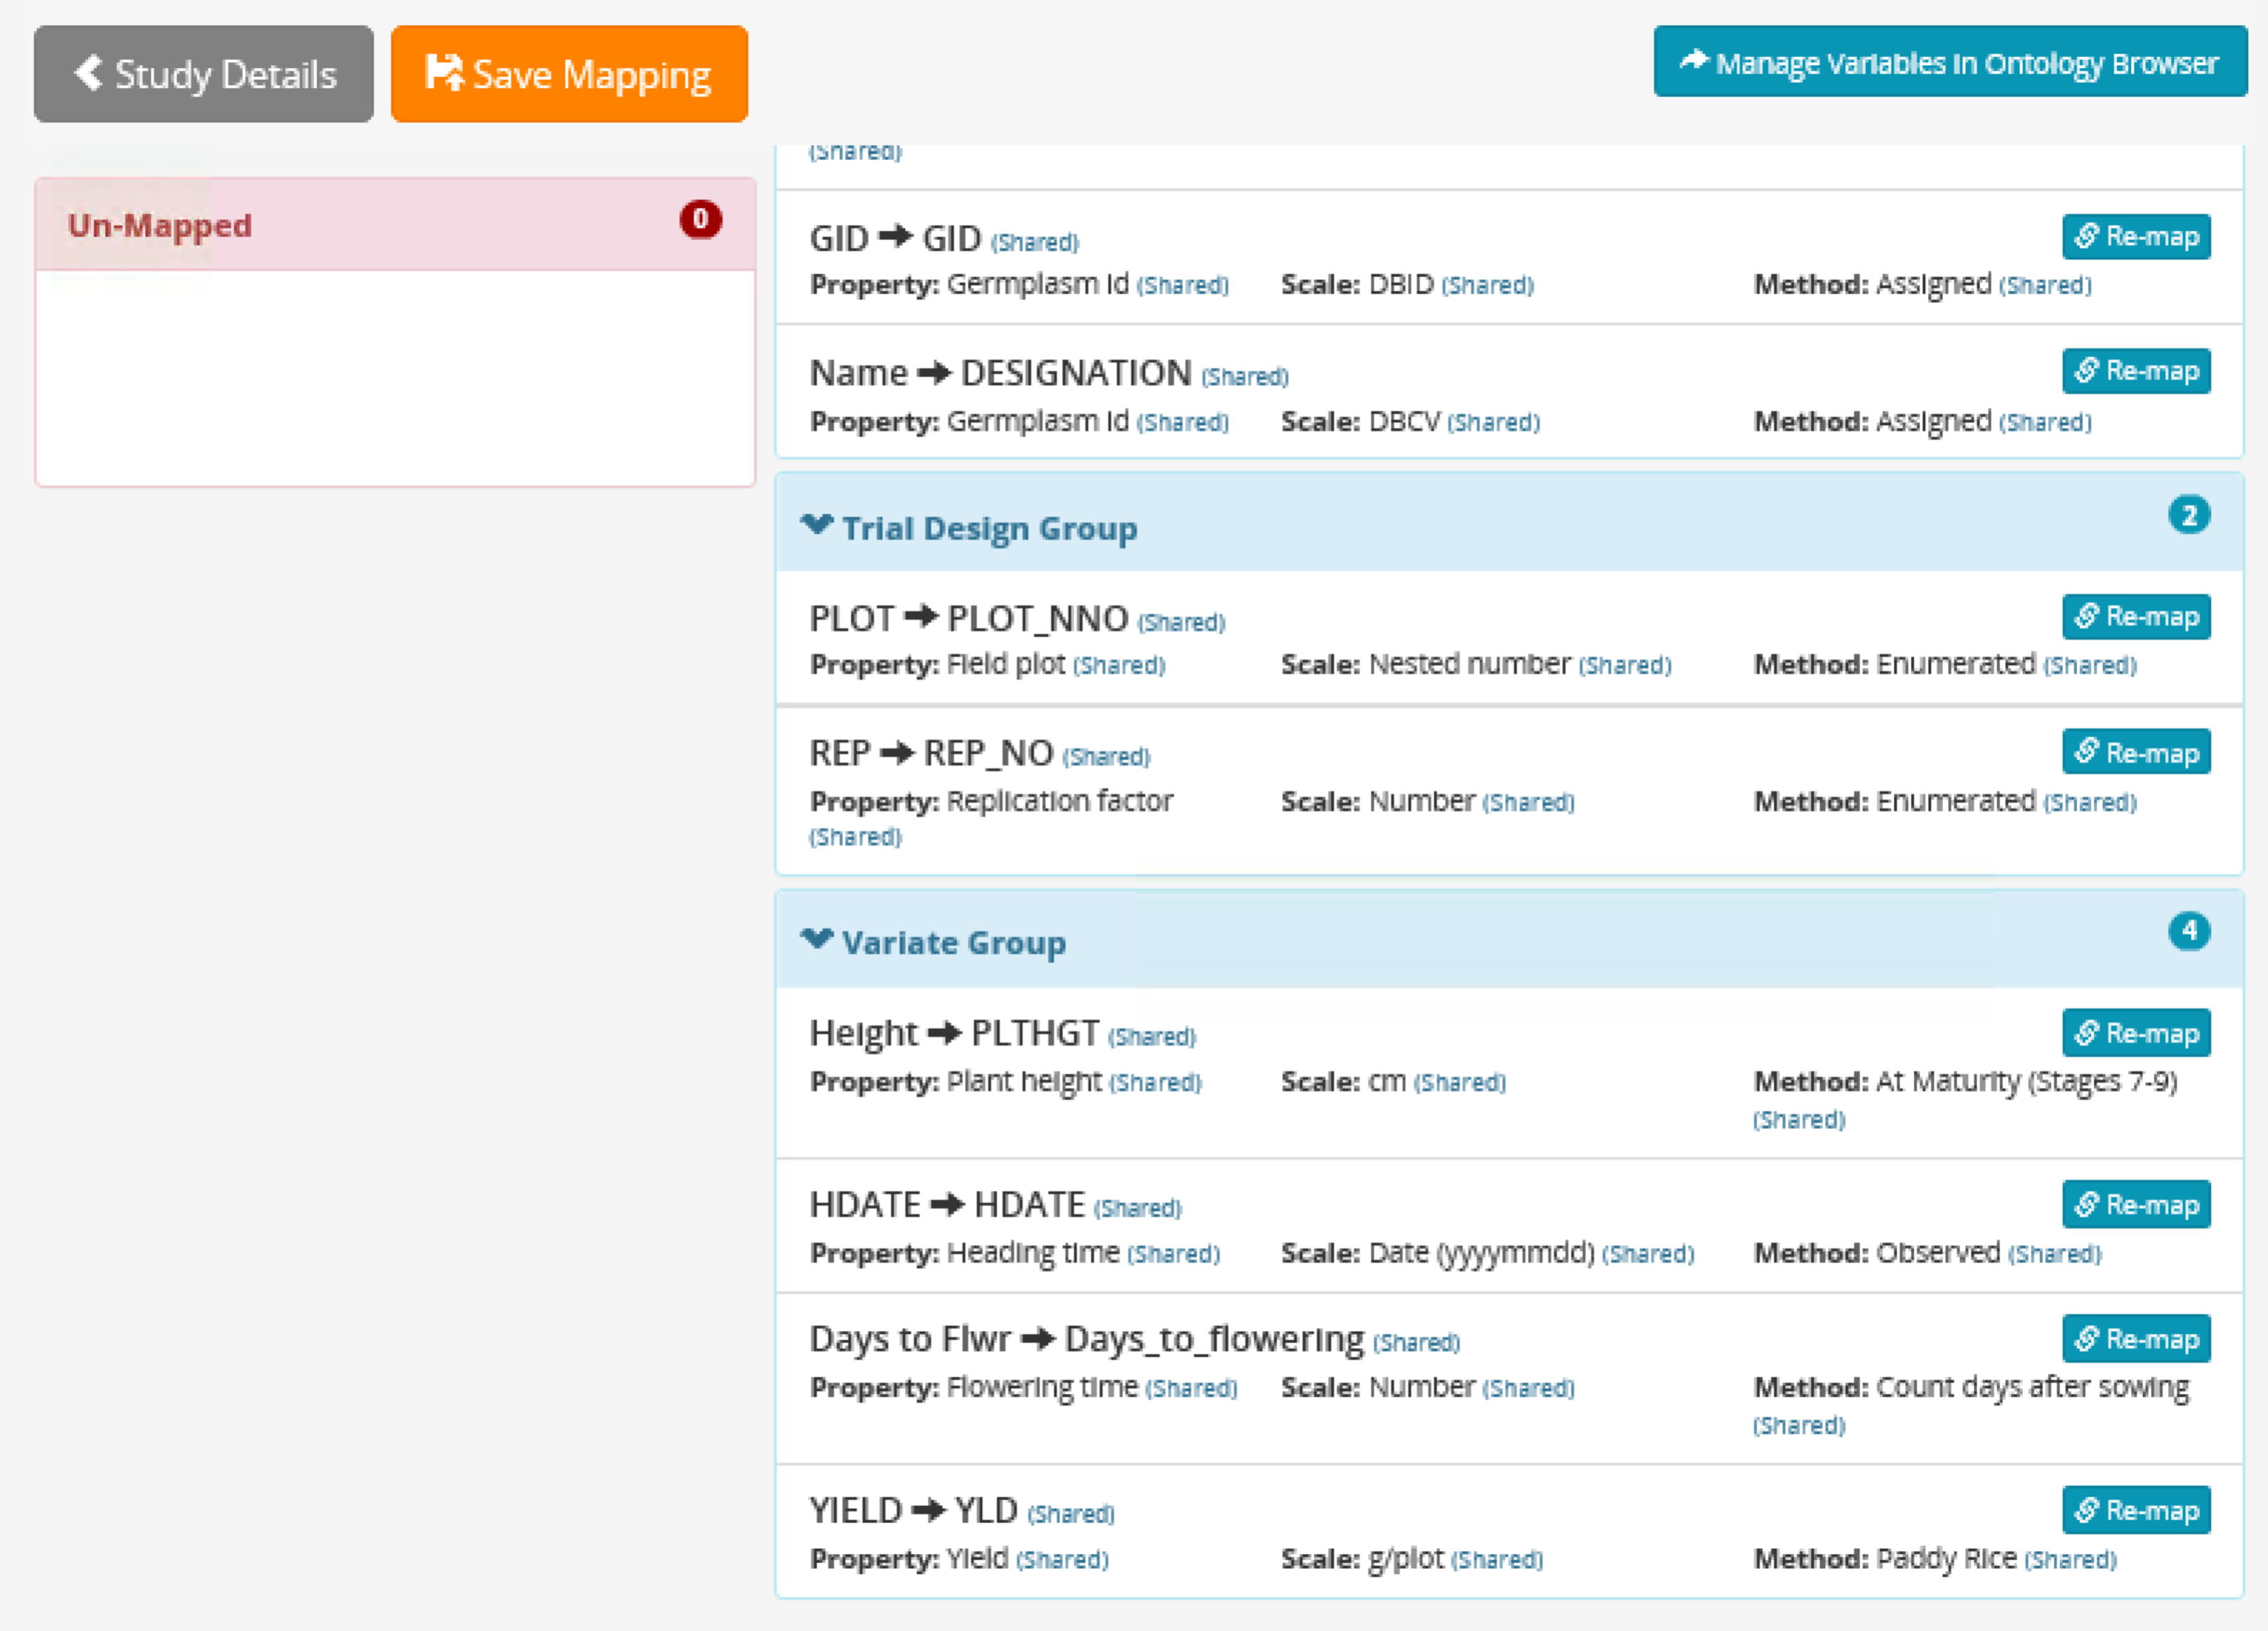
Drag and Drop selected Un-Mapped terms to their appropriate group: Trial Environment, Germplasm Entry, or Variate.

In this example, the Un-Mapped term, Name, describes germplasm entries and should be included with the Germplasm Entry group on the right. Days to Flower and Height are variates (phenotypic observations).
Apply mapping to the un-mapped terms by manually searching for the appropriate term.
Select Save Mapping when mapping is complete or if the user will complete mapping at a later time.
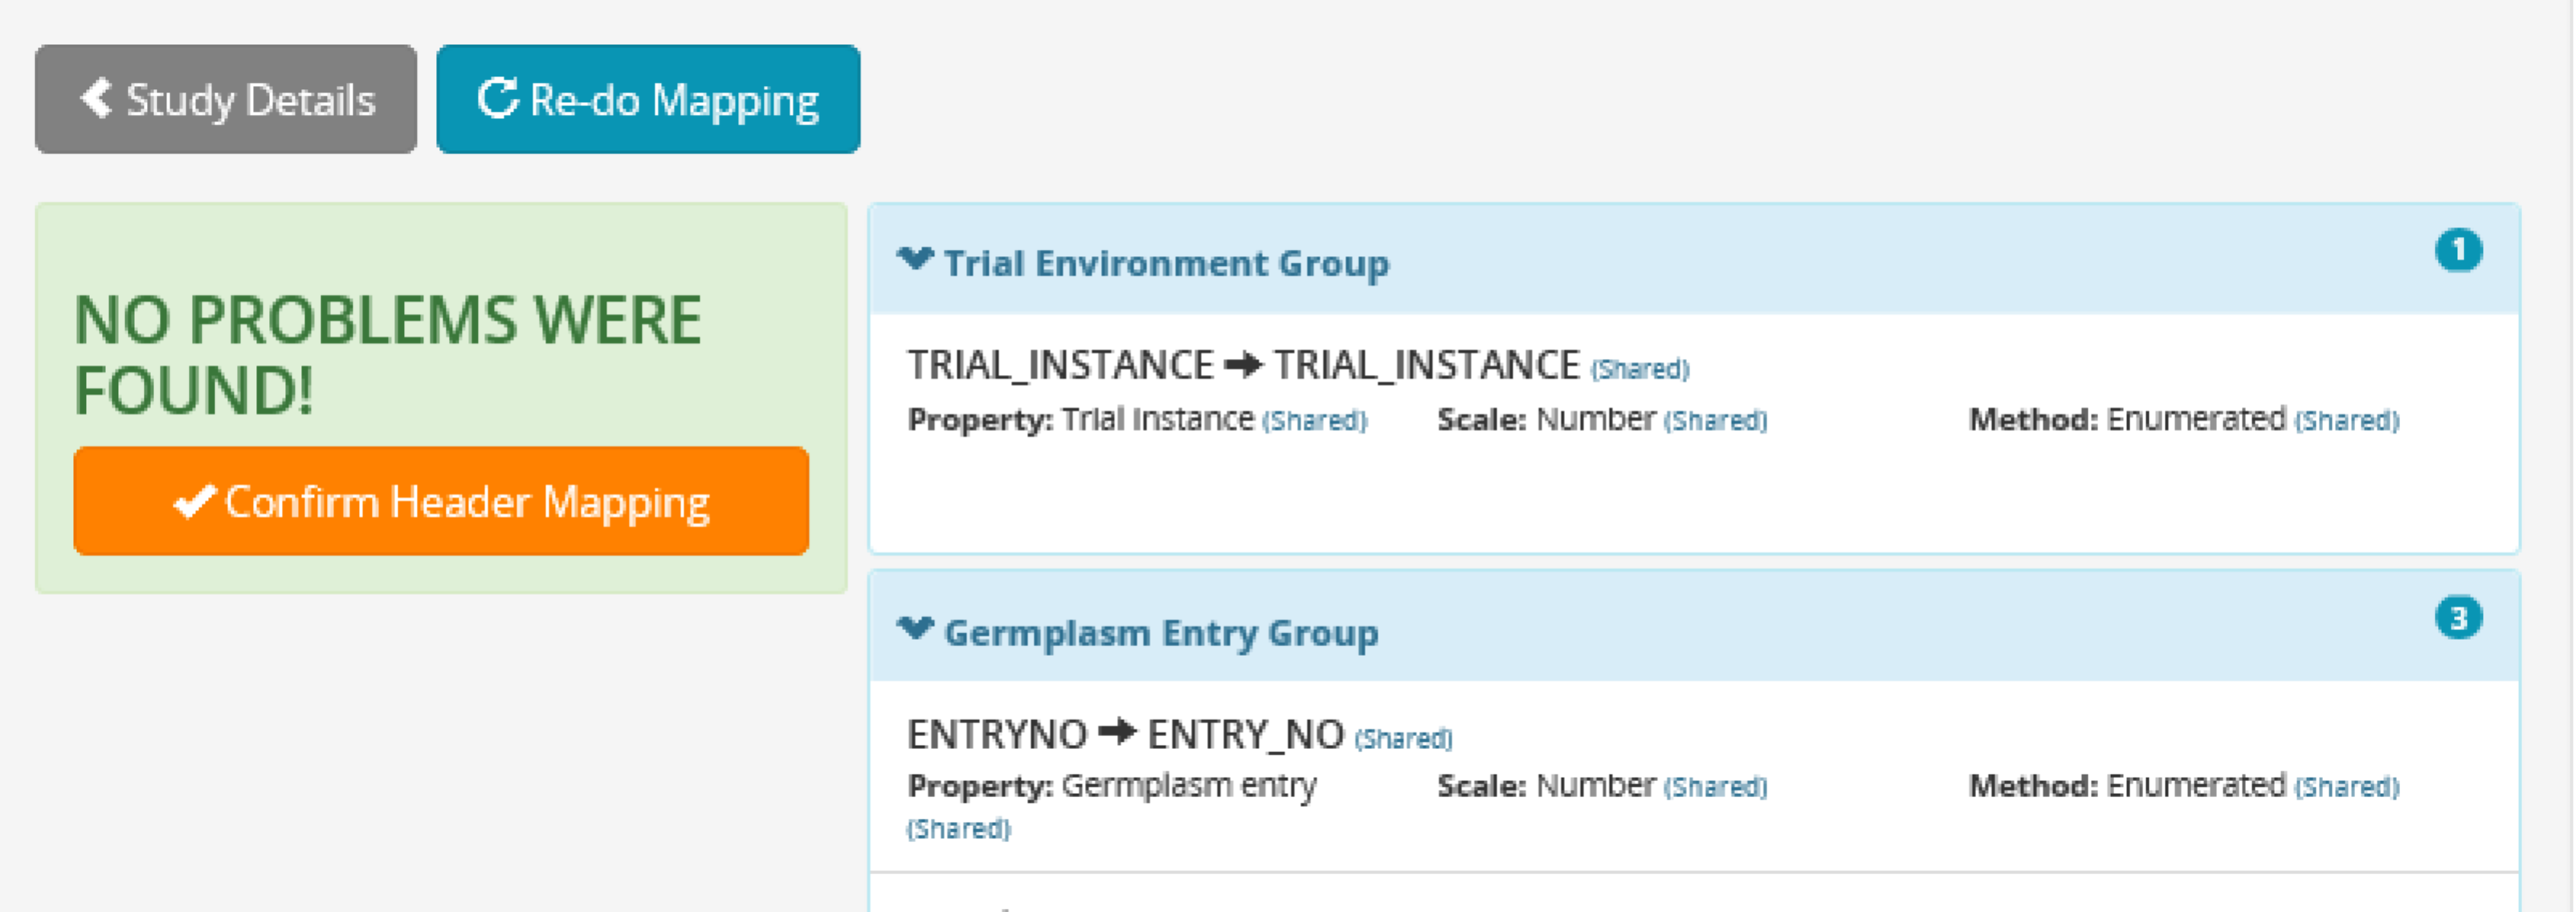
When mapping is complete, select Confirm Header Mapping.
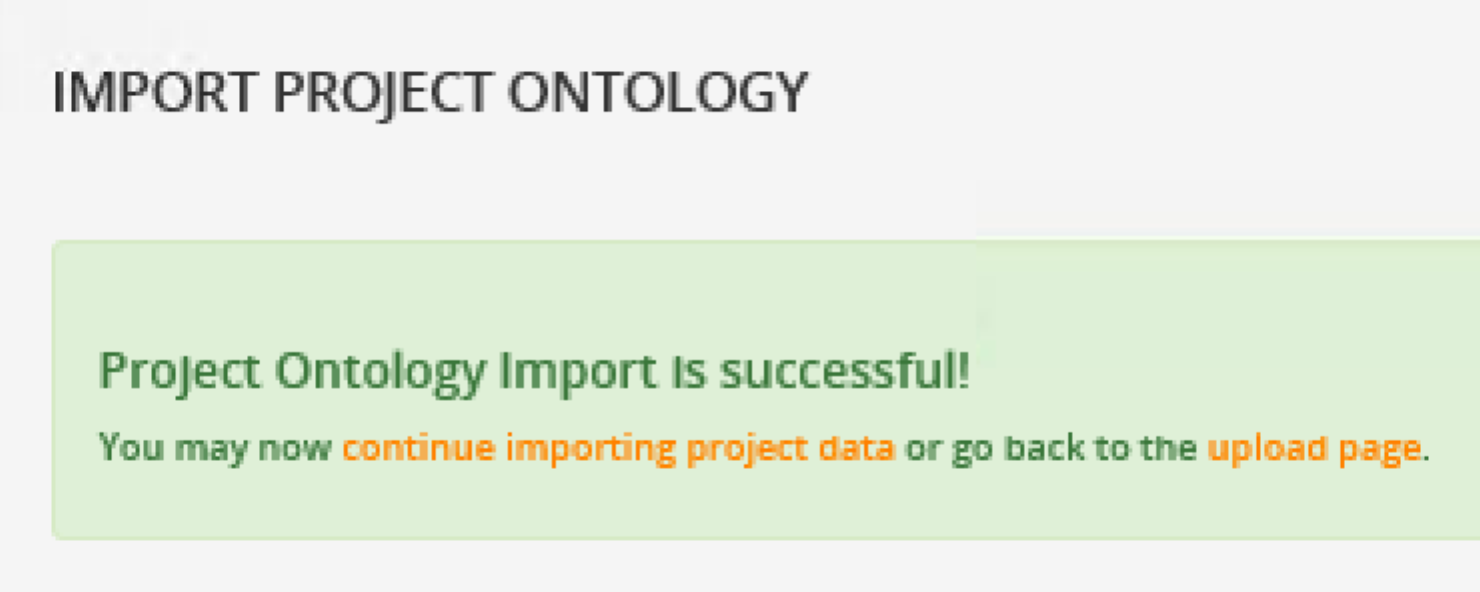
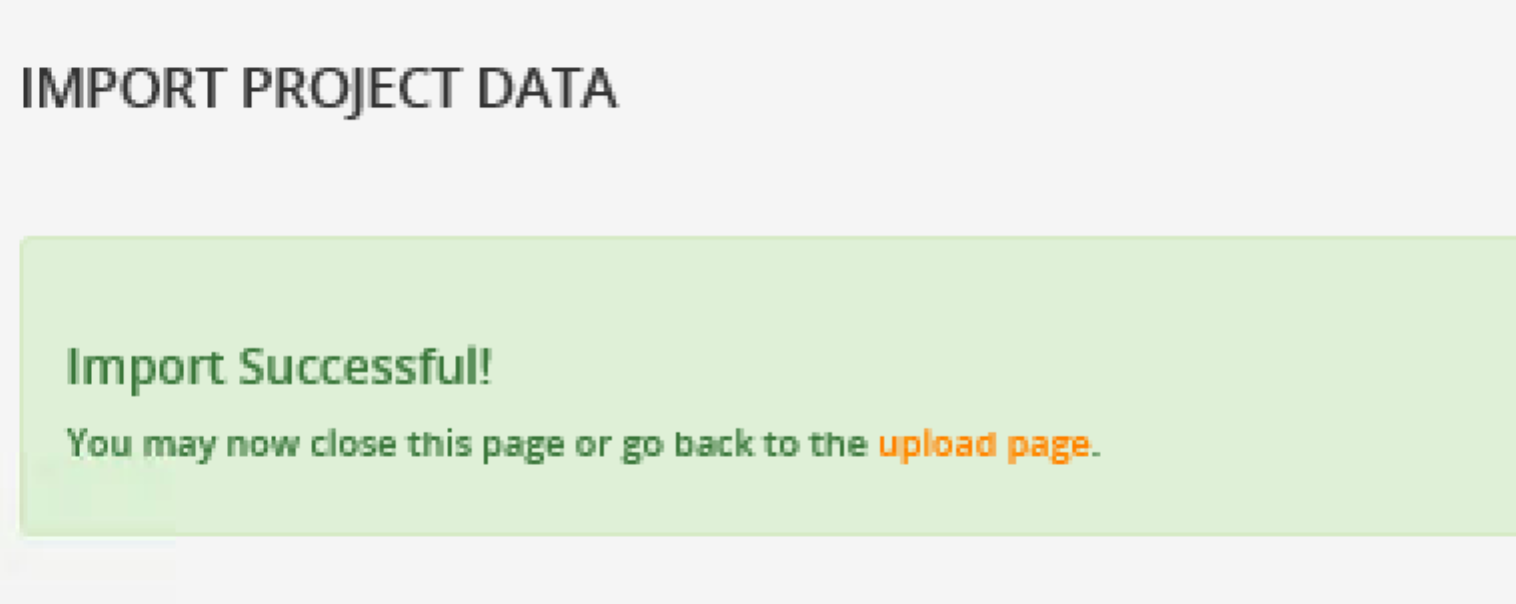
Ontology mapping is complete. Import the project data by selecting continue or return to the upload page to add more sheets of data to the trial.
Select the first row of data and import the observations. The phenotypic observations for this trial are now saved in the program database.

The phenotypic observations for this trial are now saved in the program database.
Excel File Format for Import Wizard
Only one sheet of observation data can be read at a time. Three columns of descriptive data are required to import phenotypic observations: TRIAL_INSTANCE, ENTRY_NO, and GID. However you will probably also want to include additional descriptive data. If you plan to complete a single site phenotypic analysis you will need to include replication (REP). You will probably also want to import a column of germplasm names that are meaningful to your program to ease the interpretation of results.
- Trial instance is a numerical identification of an individual experiment within a multisite or multiyear trial. For example, data from a single site or nursery will all have the same trial instance value.
- Entry number is a digit unique to each entry. For example, a trial containing three replicates of 50 accessions, will have the entry numbers 1-50 replicated three times.
- GID: Full database integration requires that every germplasm have a GID. Without GIDs, the imported phenotypic data will not relate to phenotypic data outside of this trial or to other database information, like genotype and pedigrees. You must match germplasm to GIDs in the database, possibly necessitating an initial germplasm import.
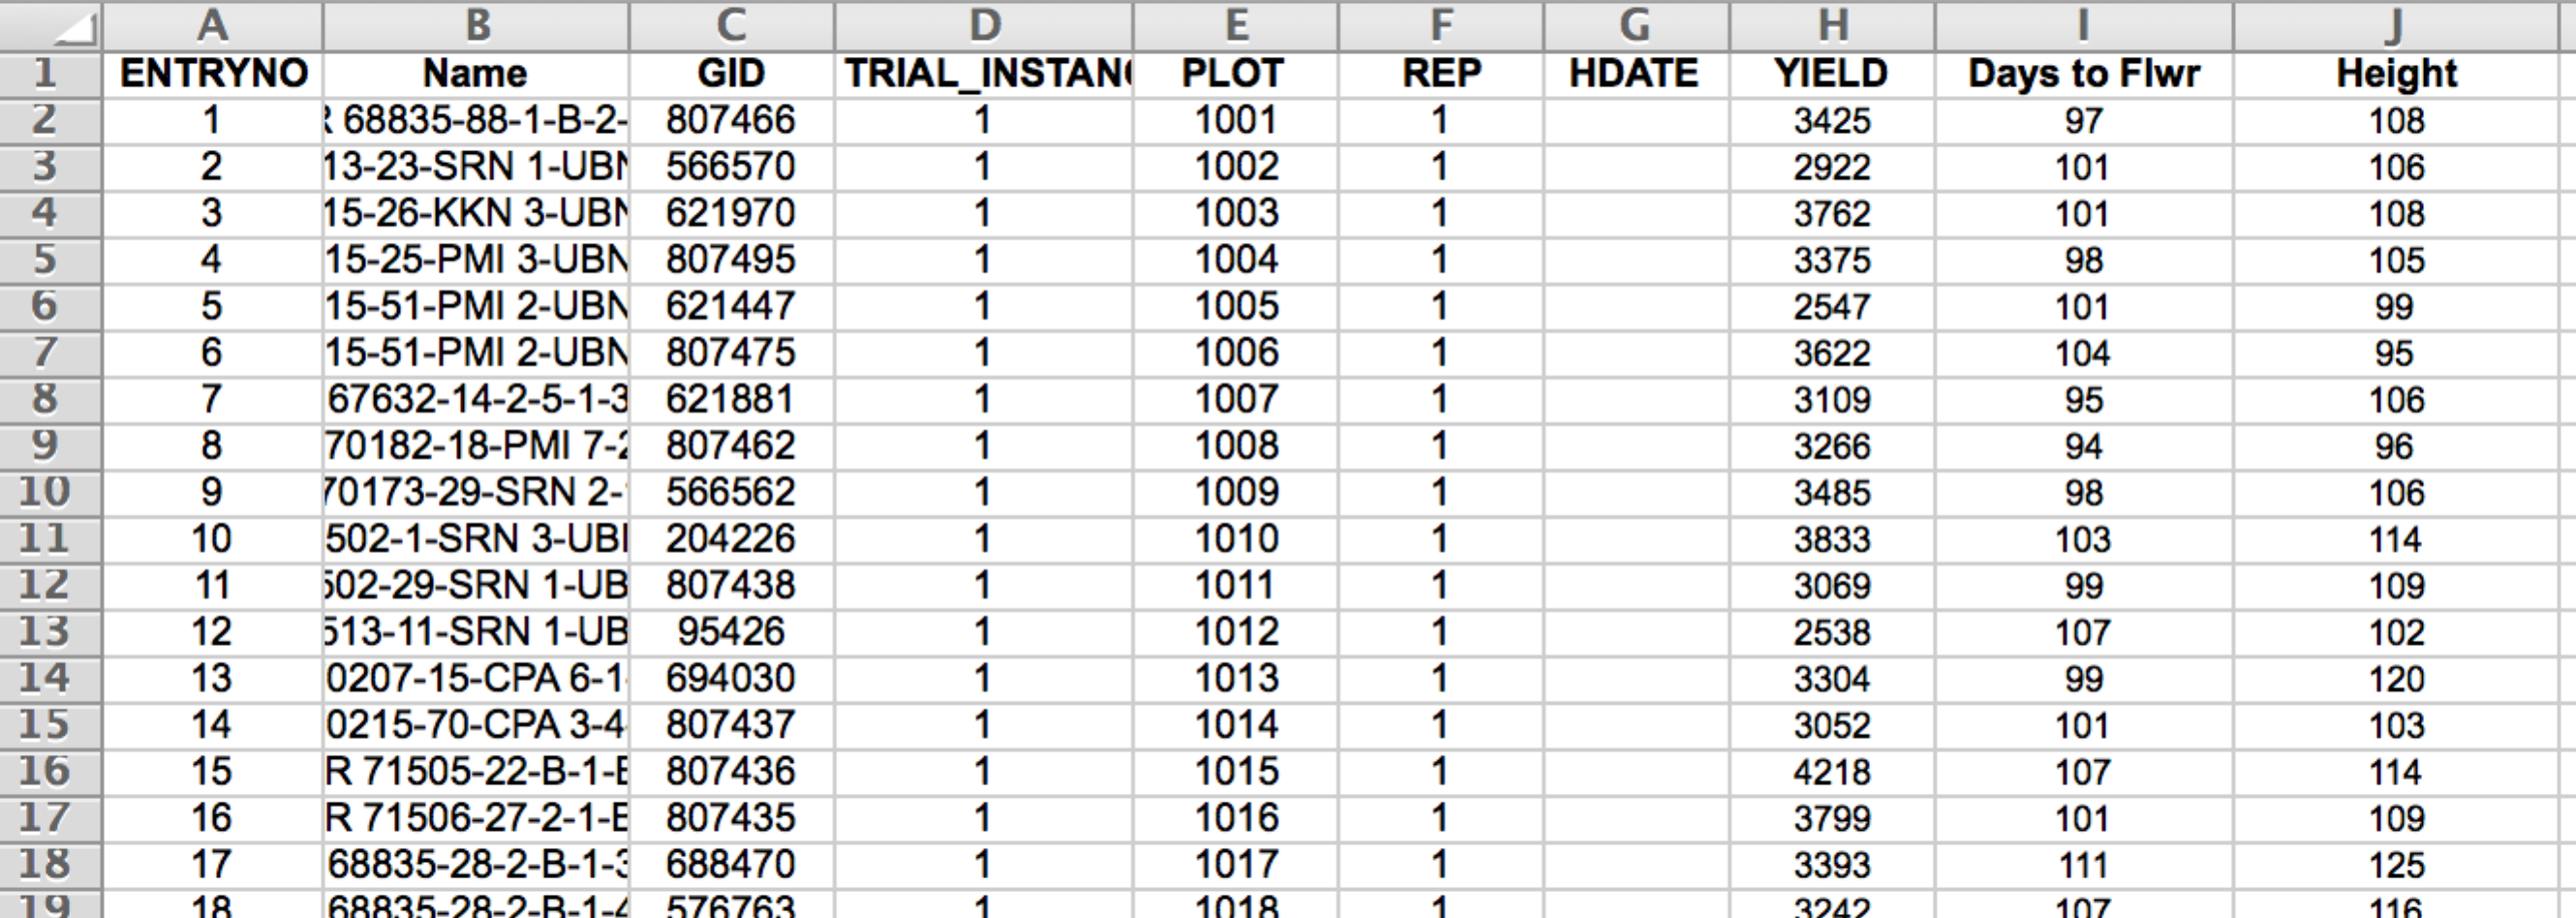
This data import sheet (.xls) contains the required entry number and trial instance columns, but also contains additional descriptive information: germplasm name, GID, plot number, and replication. This sheet also contains four columns of phenotypic data: heading date, yield, days to flower, and plant height.
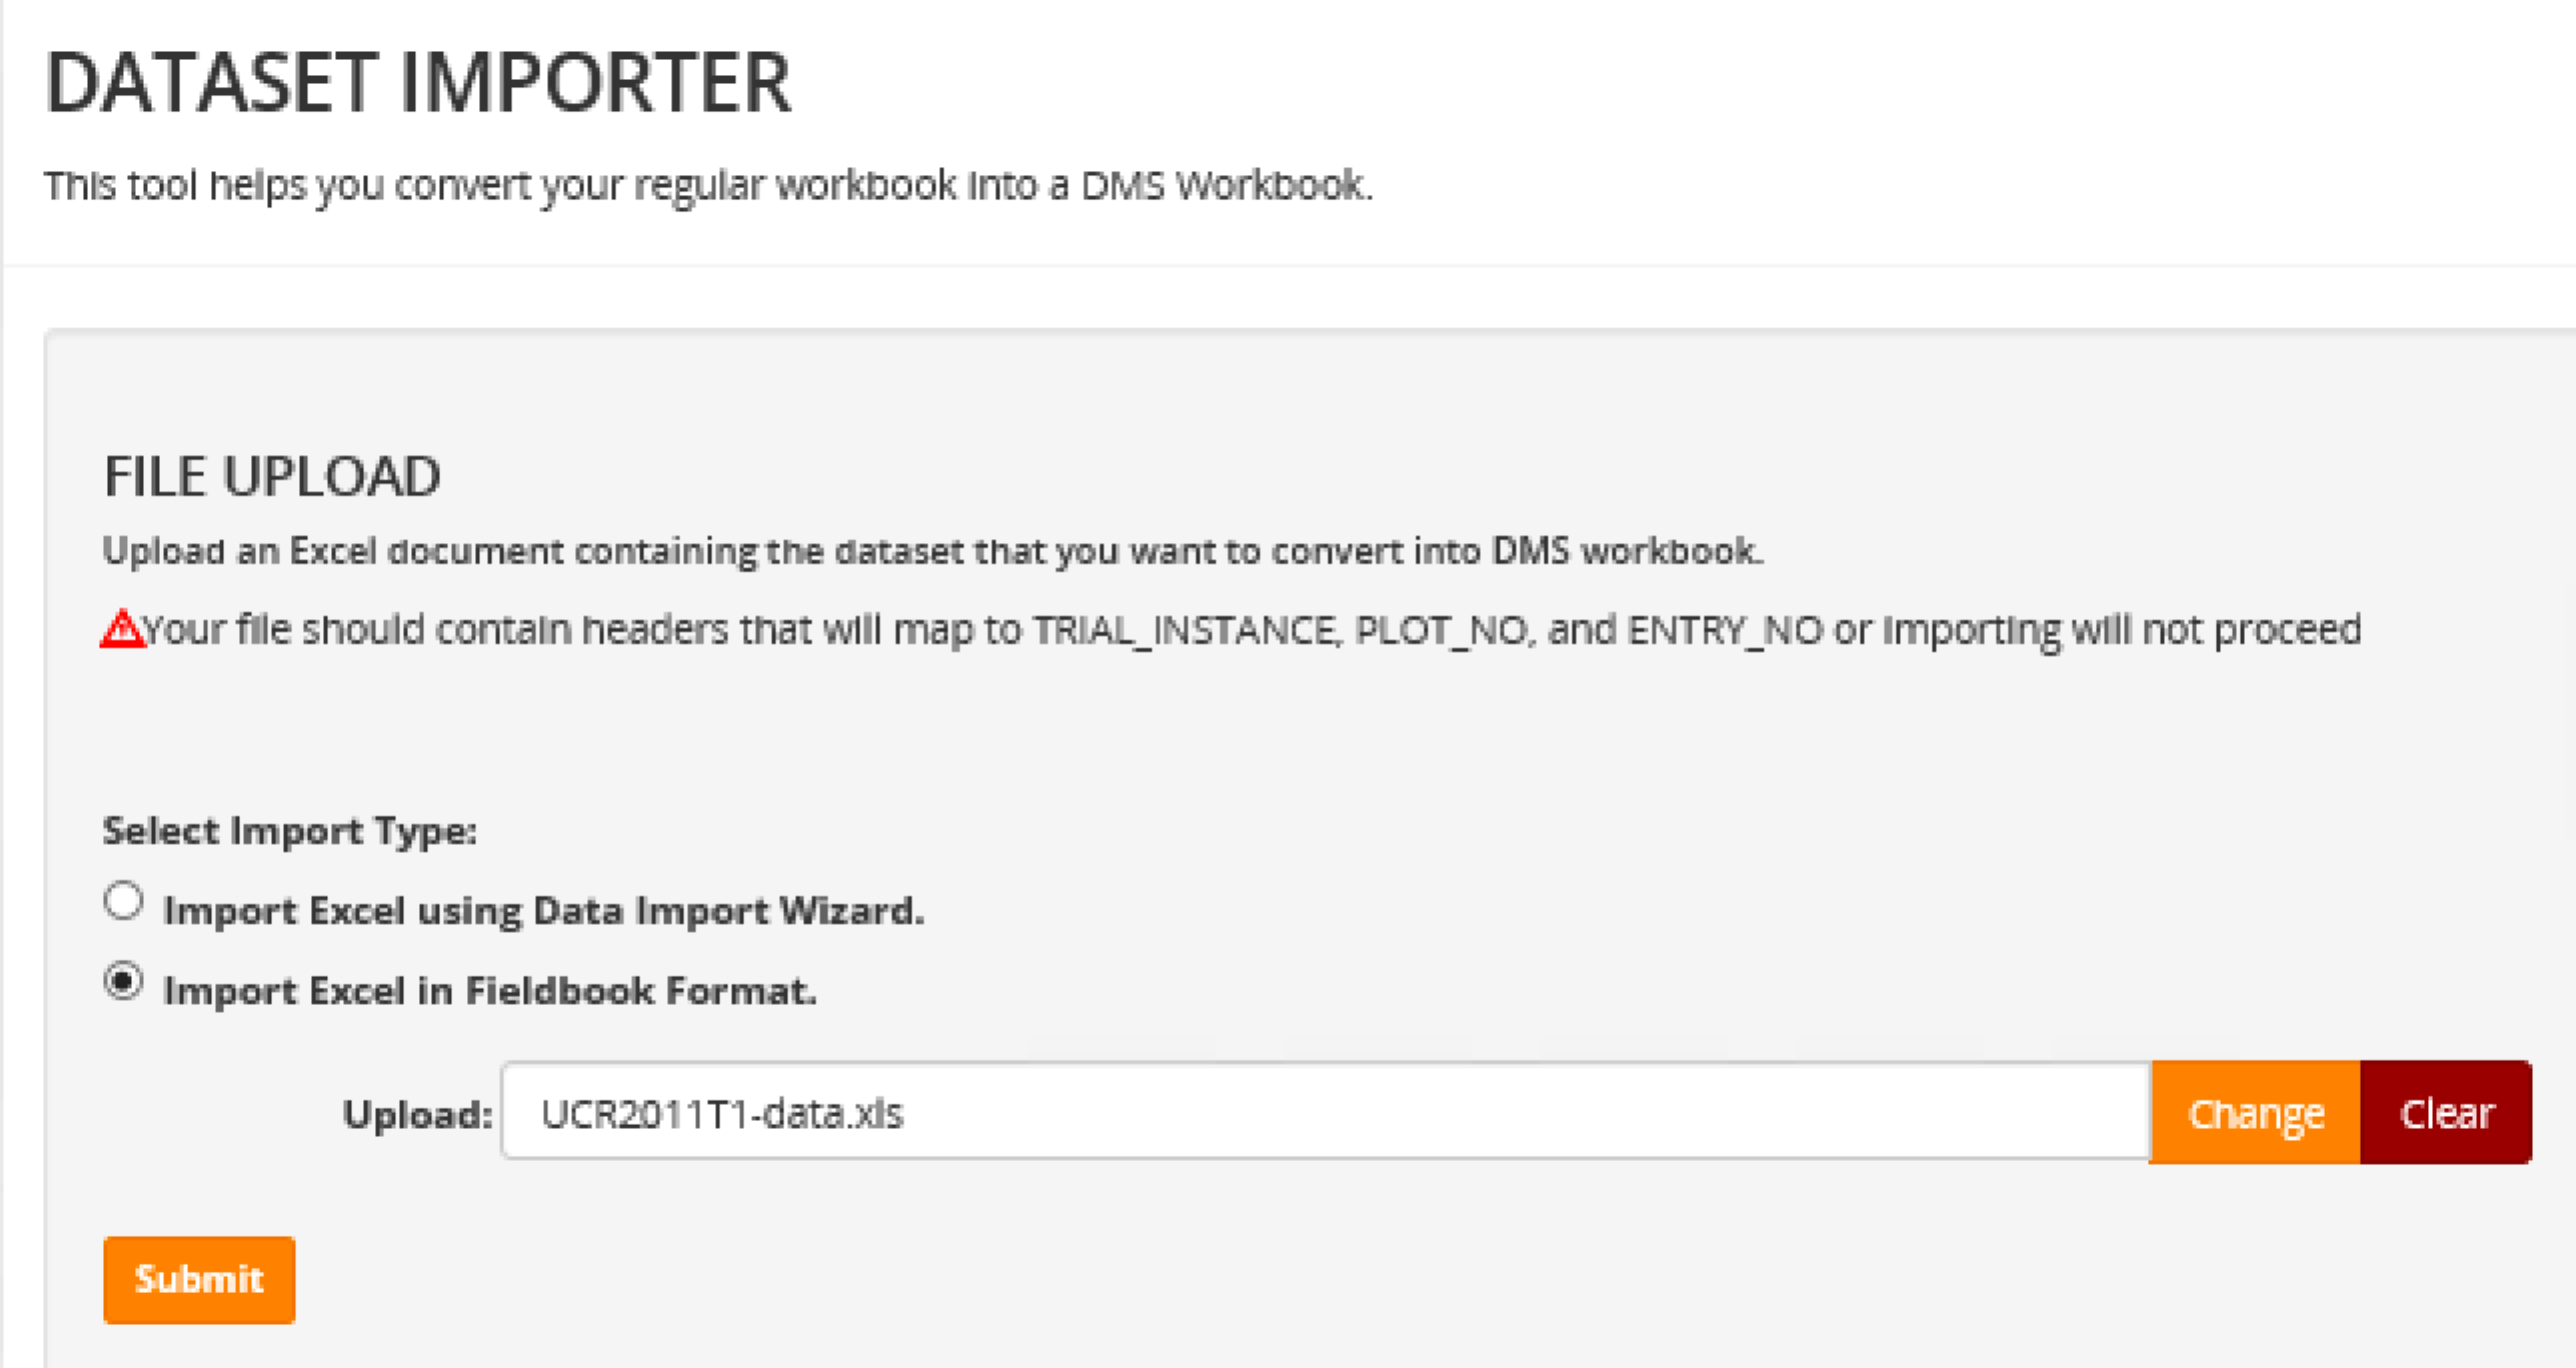
Import Fieldbook Format
Excel files exported from BMS v4 nurseries and trials are perfectly formatted for import into the BMS, with the possible exception of germplasm designation and GID. Germplasm must first be matched to or assigned GIDs in the database, possibly necessitating germplasm import.
- Select a Fieldbook formatted Excel file and Submit.
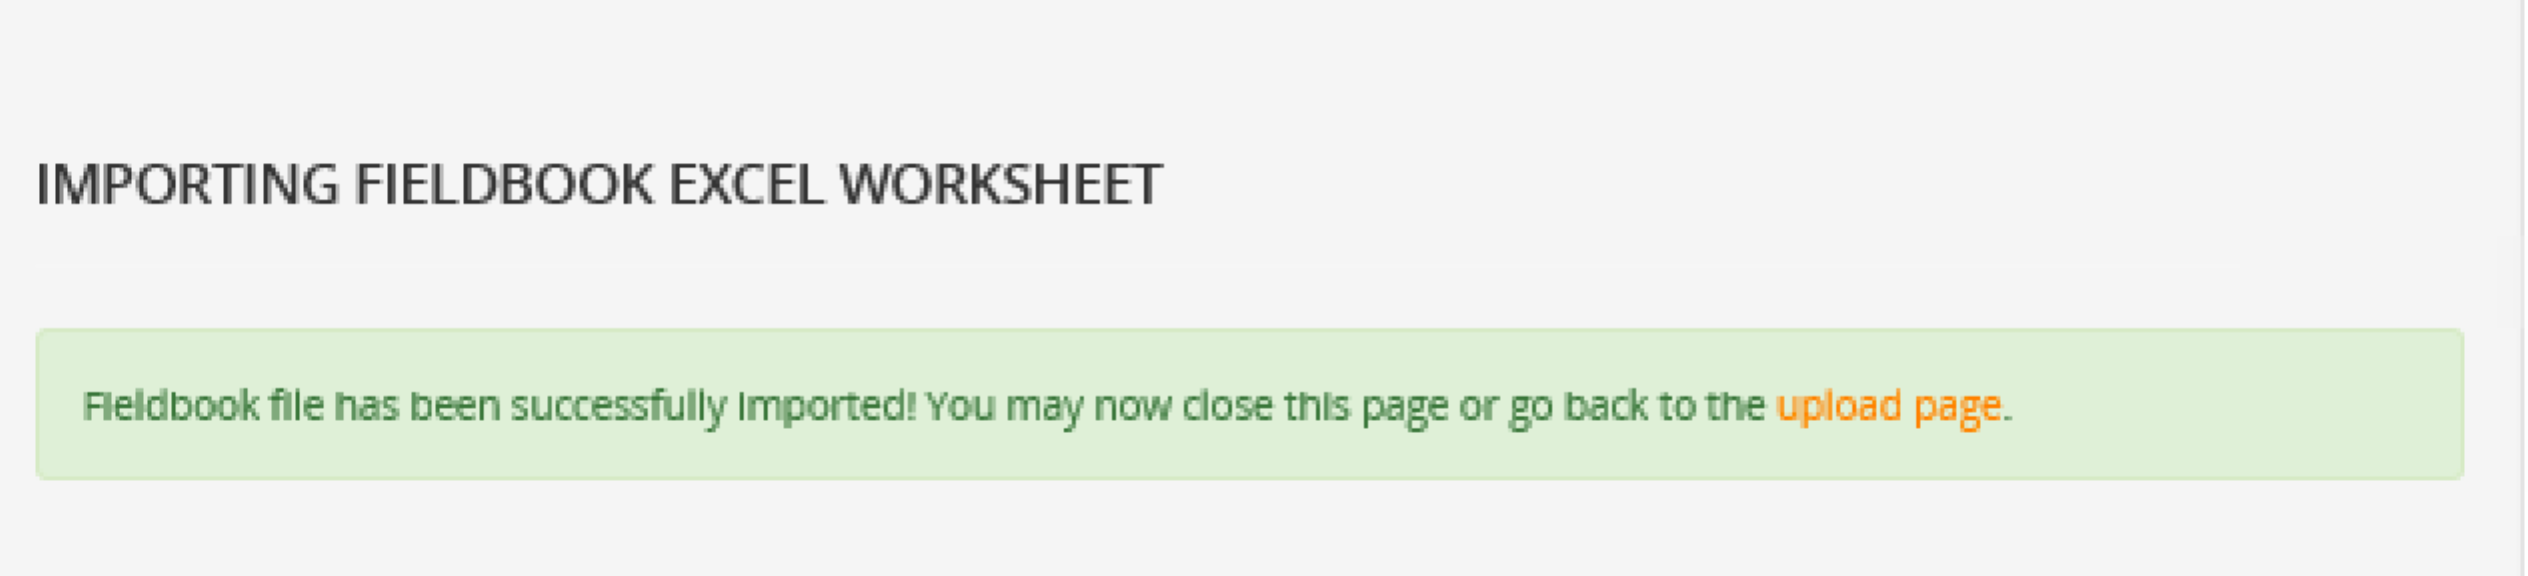
Fieldbook file import is complete. Additional files can be uploaded by returning to the upload page.